
7 Steps to Maximize Your Entry Closet
Alright, today I’m tackling a highly requested topic that’s a crucial space in any house, but to be honest, probably doesn’t get enough attention: the entry coat closet.
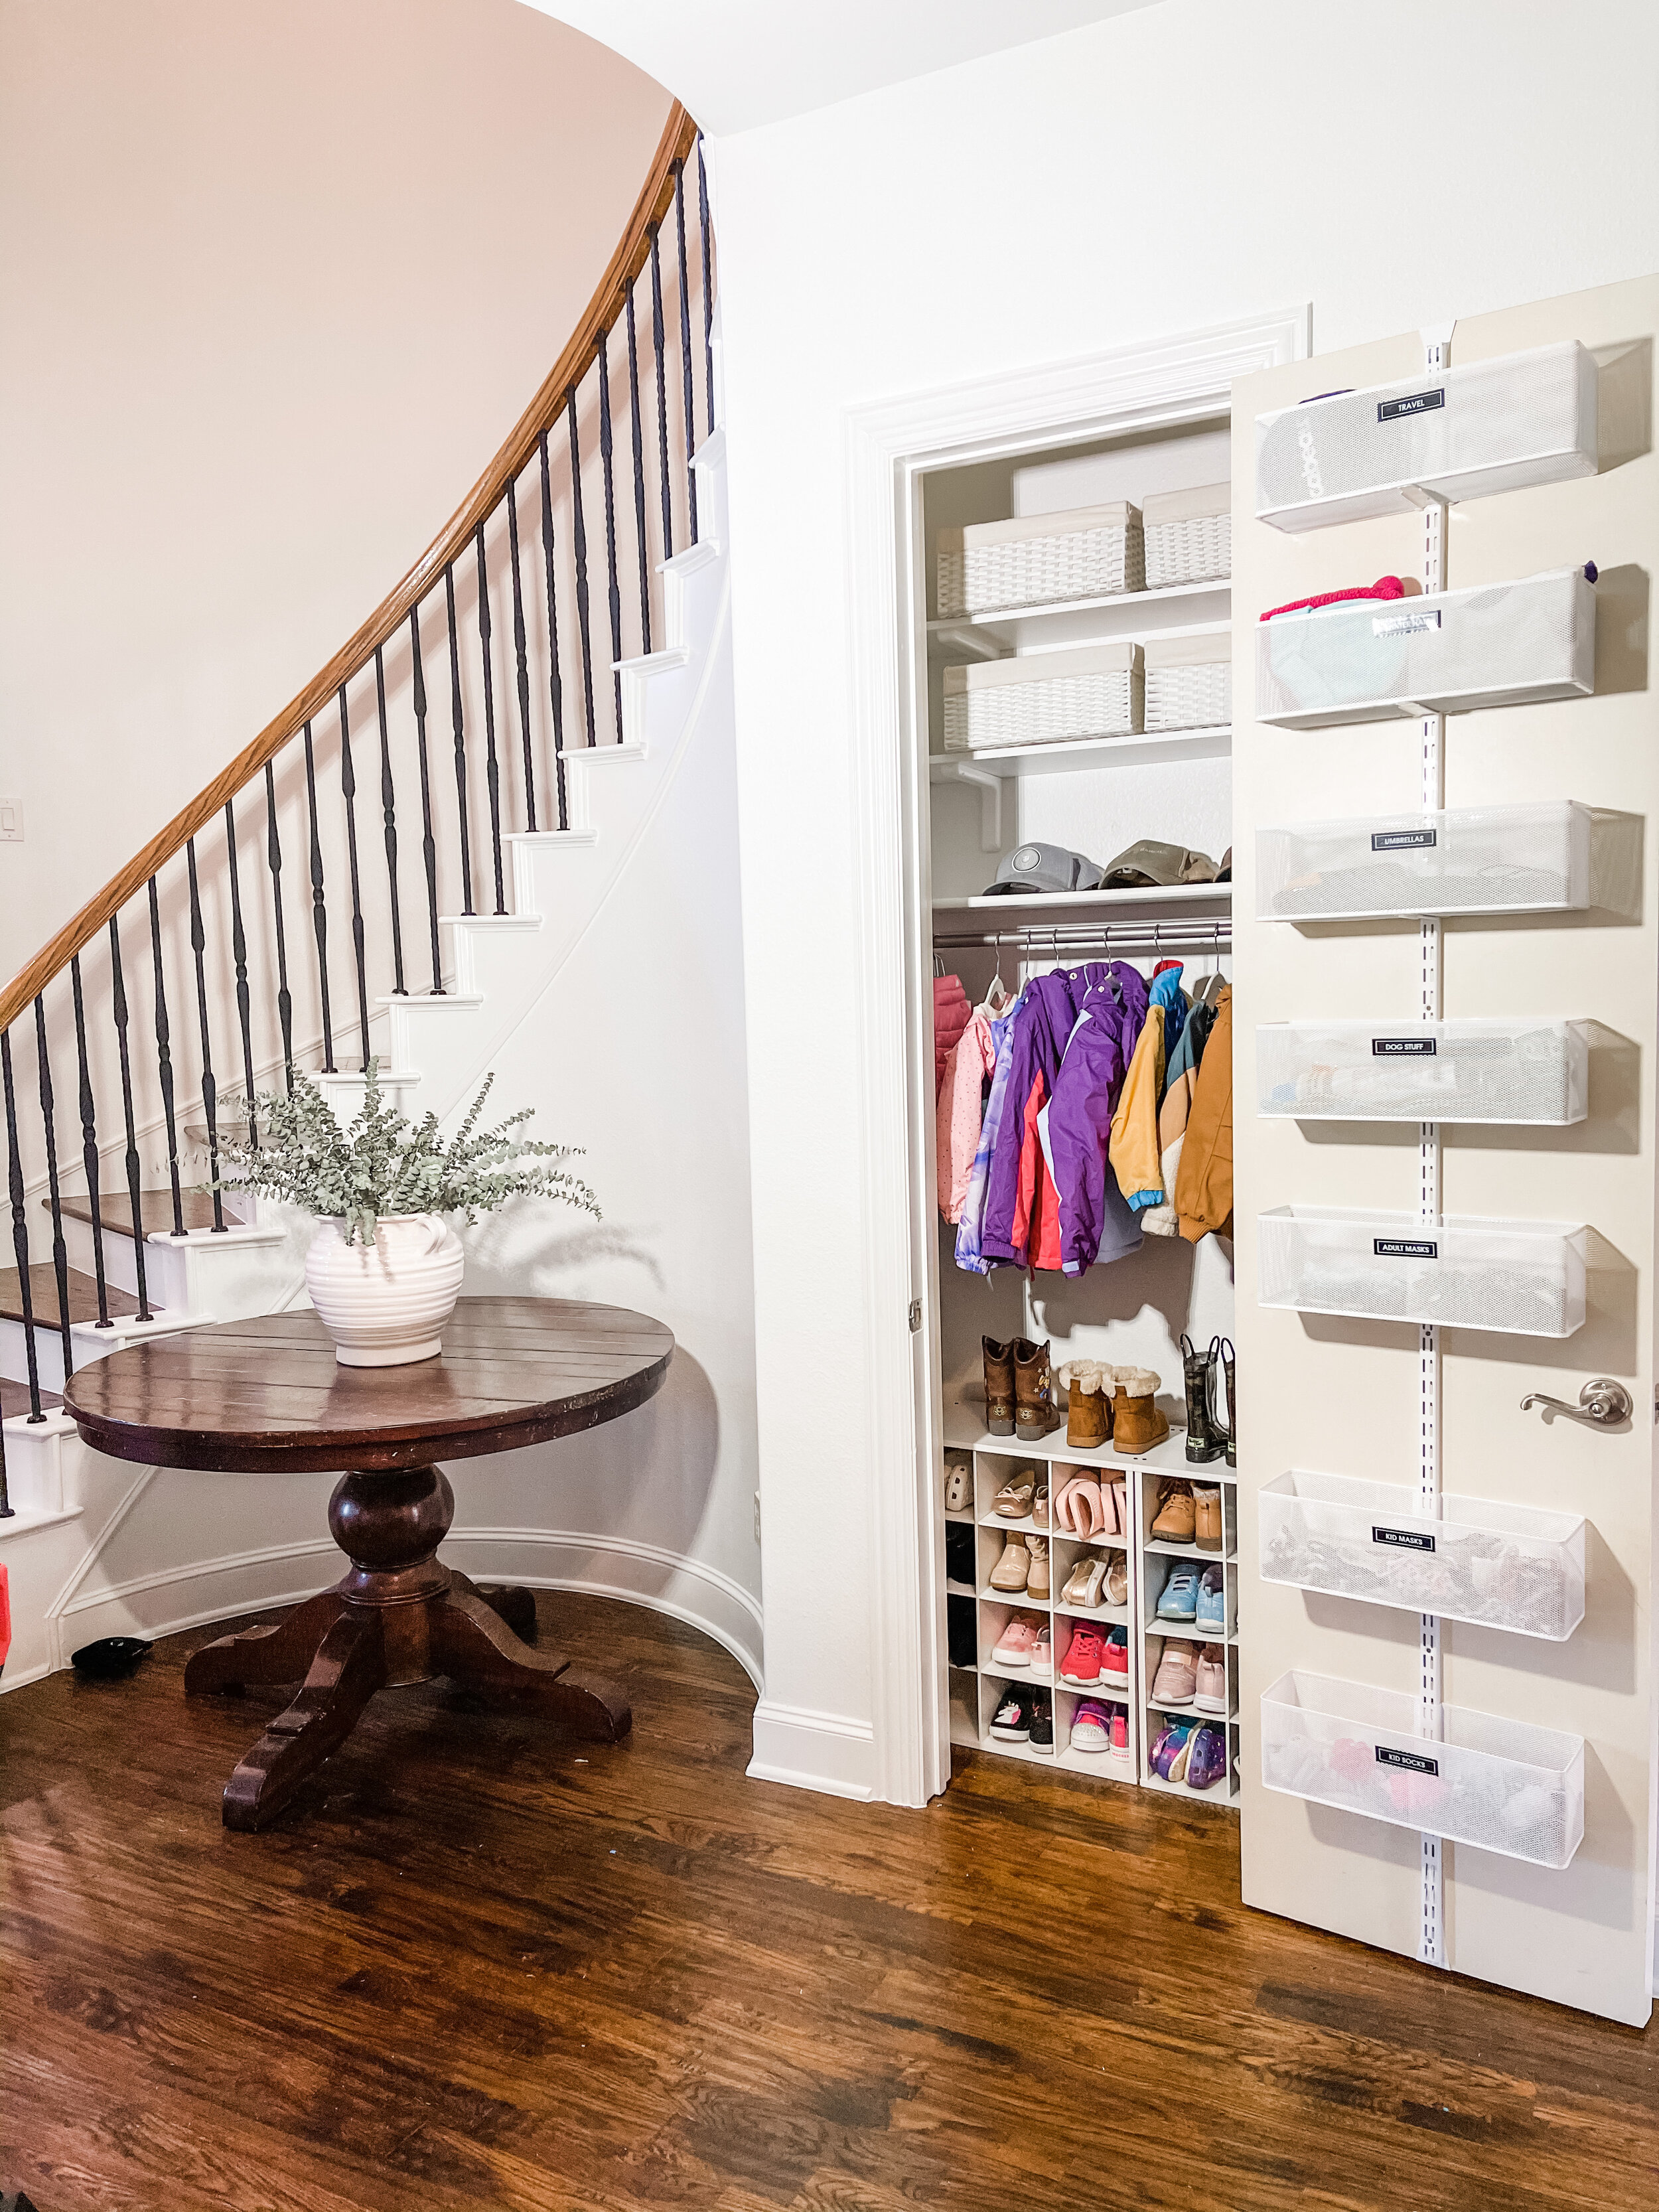
In our new Dallas house, we decided to dedicate our entry closet to the kids, which you can see in the pictures. That’s what worked best for our family, but I wanted to put together some tips and ideas for you guys to dial in your entry closets regardless of what you’ll be using them for. For us, it’s kids, for you it might be winter coats/gear or pet storage - whatever it is, these 7 steps will help you MAXIMIZE and ORGANIZE.
1. EVALUATE YOUR HABITS
OK, so first things first, think about your habits! On a personal level, I’m learning the importance of this step more and more each day. When you evaluate your habits and the way you are currently using your space, you can see what is lacking. This doesn’t mean evaluating just the closet, but the space around it too. I was really able to recognize what wasn’t moving smoothly in our morning routines—socks are NEVER to be found, masks are all over the place and don’t even get me started on shoes. Nothing seemed to be making it back to the kids’ rooms. Taking the time to evaluate and see the issues allowed me to get some systems in place that would help.
We had our routine, but not that routine-ready space to compliment it. Socks, shoes, coats and mask is the recipe for every morning in the Safford household. It was time for me to dial in this space to make it work for us.
2. EMPTY AND SORT
Y’all know the drill. We want to create a clean, blank canvas to start off any organization project, so no matter what space it is, empty and sort is ALWAYS part of the process. While emptying, sort items by category (check out this post for how I do this step in bathrooms). Items will either stay in the space, be relocated, or be purged/donated.


3. CLEAN THOROUGHLY
I know, cleaning sucks. I’m an organizer, not a cleaner so I dread this step as much as the next person, but it’s a necessary evil. This is your chance to really get those nooks and crannies you may have been missing—or in my case, had never gotten to. Hah! Take advantage and put in the work here—it’ll be worth it once it’s done!
4. MEASURE TO MAXIMIZE
The goal with a project like this is to maximize, maximize, maximize. We want to really look at the negative space—what isn’t being used and how can it be? In the case of our entry closet, it was the space above the current shelf and the inside of the door. Knowing those were the spaces we wanted to be adding to, it was time to measure.
Our door came in at 8’ and is extra thick (this was important because the solution we used has door hooks). The width of the shelf was 41” and I didn’t want shelves deeper than the existing one, so we went with 10” deep of useable space. These are the nitty-gritty details that will help your space function better so even if you’re a wing-it kind of person, I encourage you to measure! I think you’ll be surprised at the added function you can get out of your space when you have systems in place that FIT.

5. INSTALL PRODUCT
If you’ve made it to install day, you’re in the home stretch!
For our coat closet situation, the door unit was a breeze to install (check out our Coat Closet highlight on IG to see me walk through the process!). For the shelving, Conner cut and installed it for me and shared that process step by step in his Shelving highlight on his @saffordsays IG.
Generally speaking about install though, it’s important to space plan based on accessibility and who is accessing what. My kids are able to grab their own items so I wanted to be sure that certain baskets were placed low for them. Nothing like having some self-sufficient kiddos! #momwin
6. LABEL ACCORDINGLY
This step is always important for two reasons:
1) You can find items easily.
2) It holds you (and everyone) accountable when putting items back.
And don’t forget that labels can be changed as often as you need. This does not trap you into a certain system. It finalizes the new system you have put in place and can be updated whenever there are changes to your needs. This is my go-to label maker—I have a whole IG highlight about labels if you want more info!
7. ENJOY
My favorite step of every organization project—enjoying it!! Take in all your hard work and enjoy your new space!
SHOP
