5 Steps to Organizing Your Kids’ Art Supplies
With the holidays coming up, I realized we need to tackle our kid’s Art closet before we add anything else to it. Coloring books, paint, craft supplies… you name it, we have it. I LOVE when my kids get to get messy and be creative, but that mess needs to stay at the table so that the closet can stay organized. Giving everything a home is the first step to creating peace in a closet full of chaotic possibilities.
Whether you dedicate a closet, a cabinet, or a corner of your kids’ room, these 5 steps will help you tackle any Art supply storage!
1) EMPTY & CLEAN
No matter what the space is, the first step should be to empty it completely and give it a good clean. This will allow you to familiarize yourself with the items you have, get to know the space again without the clutter, and give the space a fresh start.
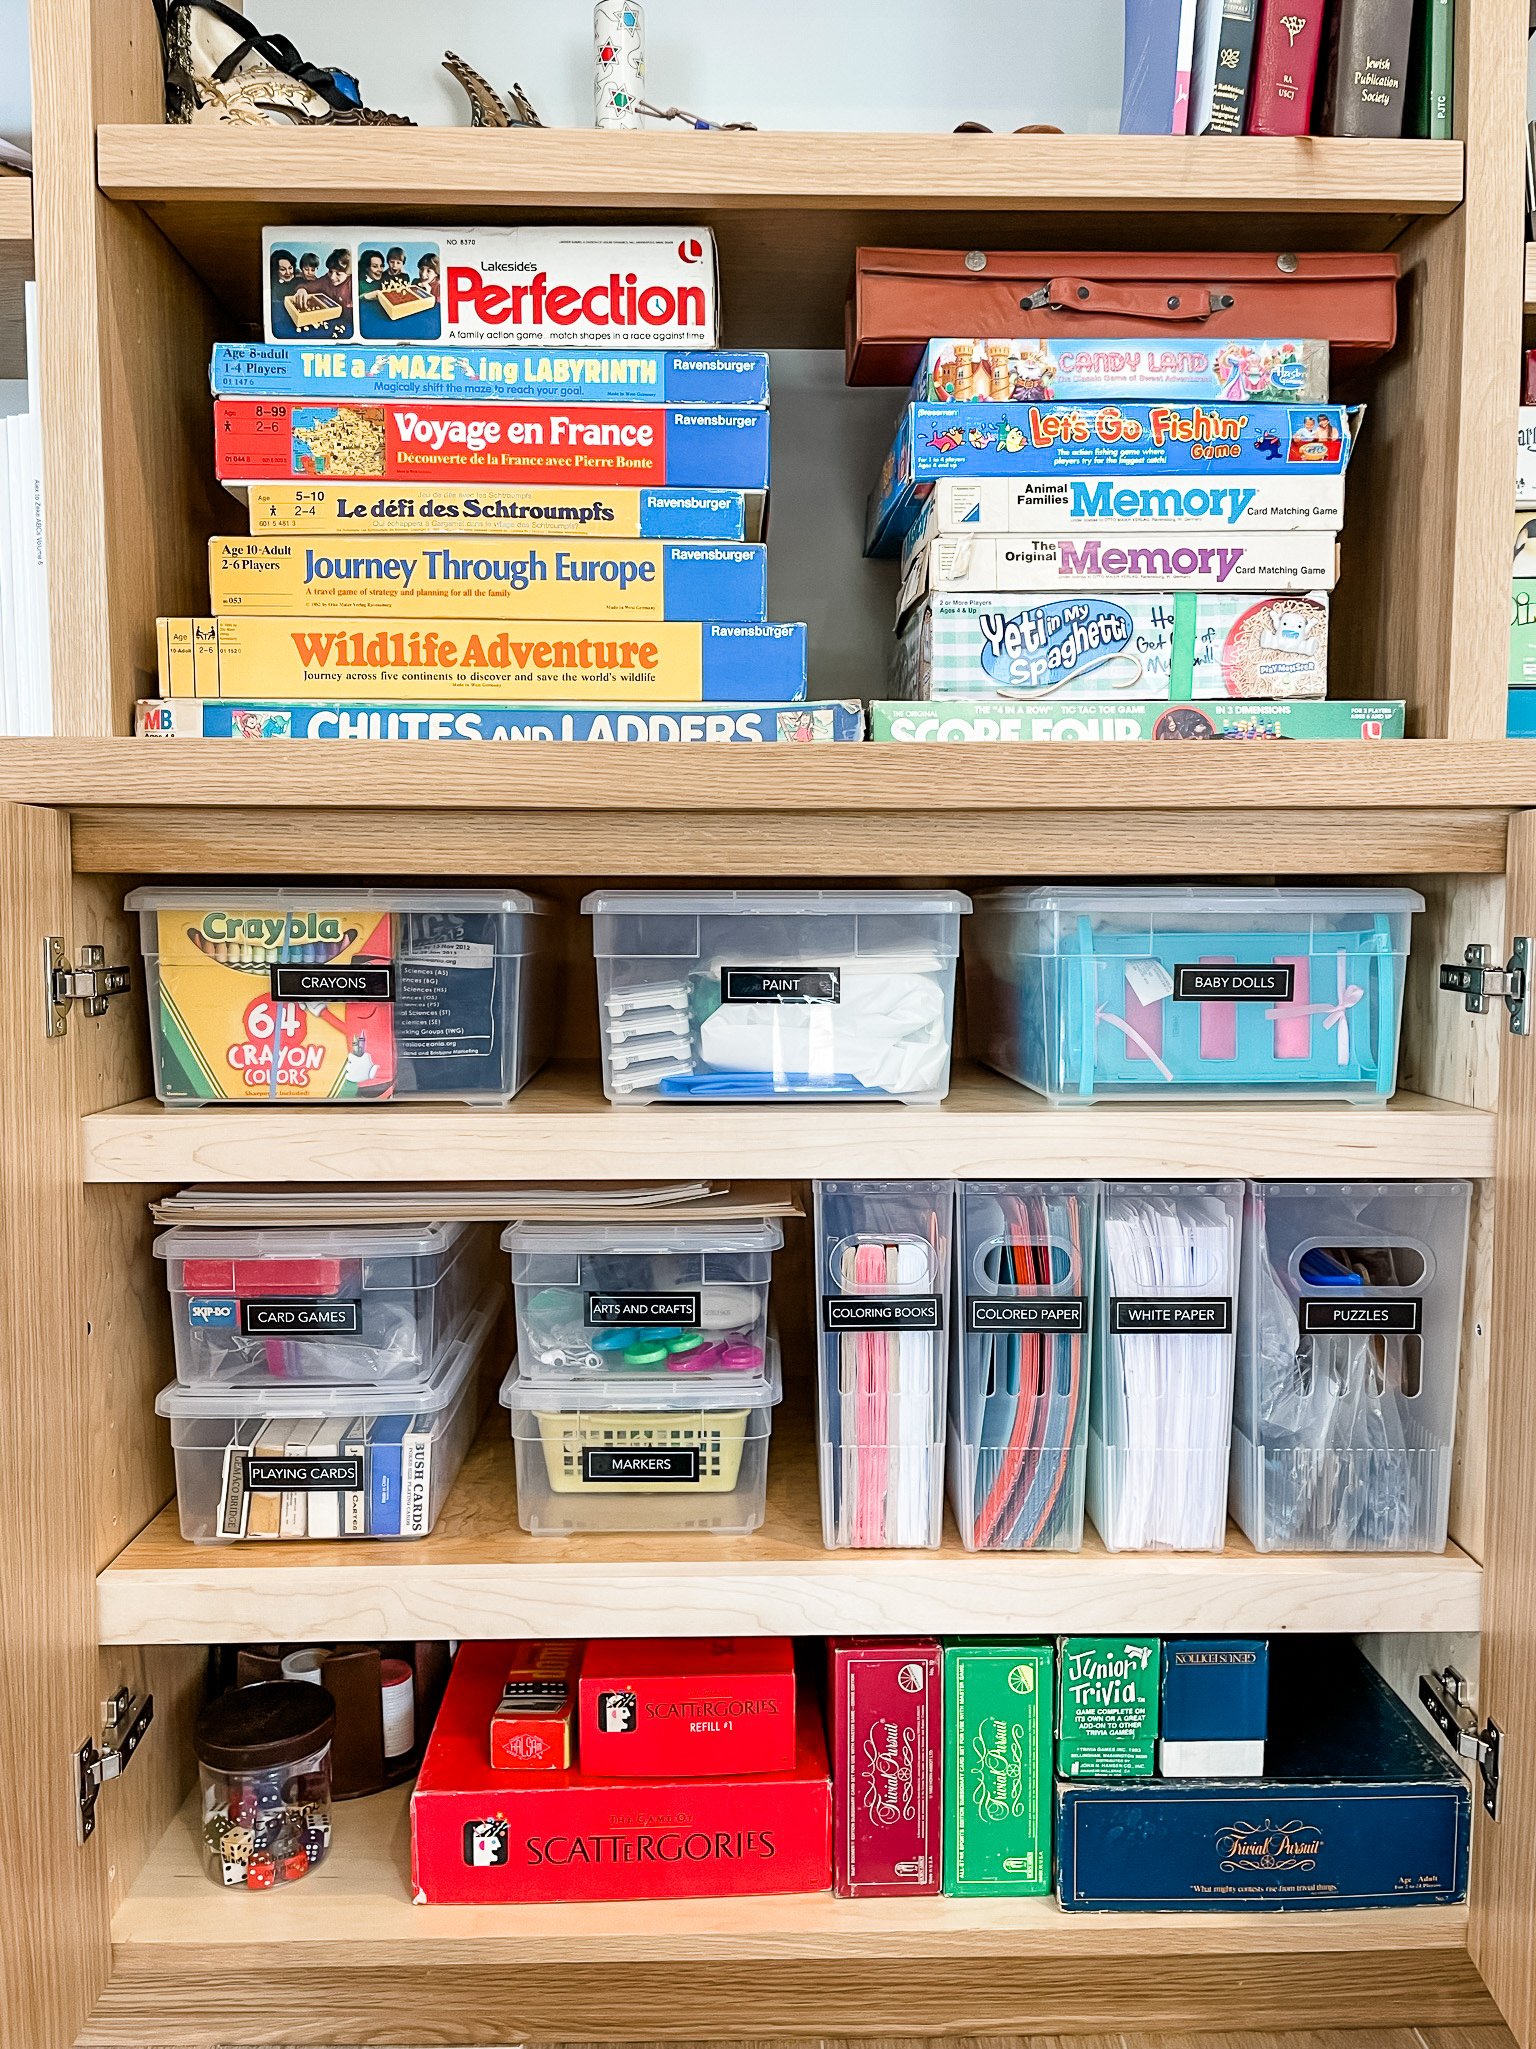
2) SORT AND PURGE
Sort your art supplies into categories that will be easy for your kids to recognize and sort for themselves when it’s time to clean up their messes. Simplify your system so that they clean independently. This is also the time to get rid of those 13 crayon bits, 7 leaves, and 6 dried-out glue sticks your kids have been collecting - YOU’RE WELCOME. Did I tell you guys my daughter has her own labeled playground woodchip collection box?
3) CHOOSE YOUR PRODUCT
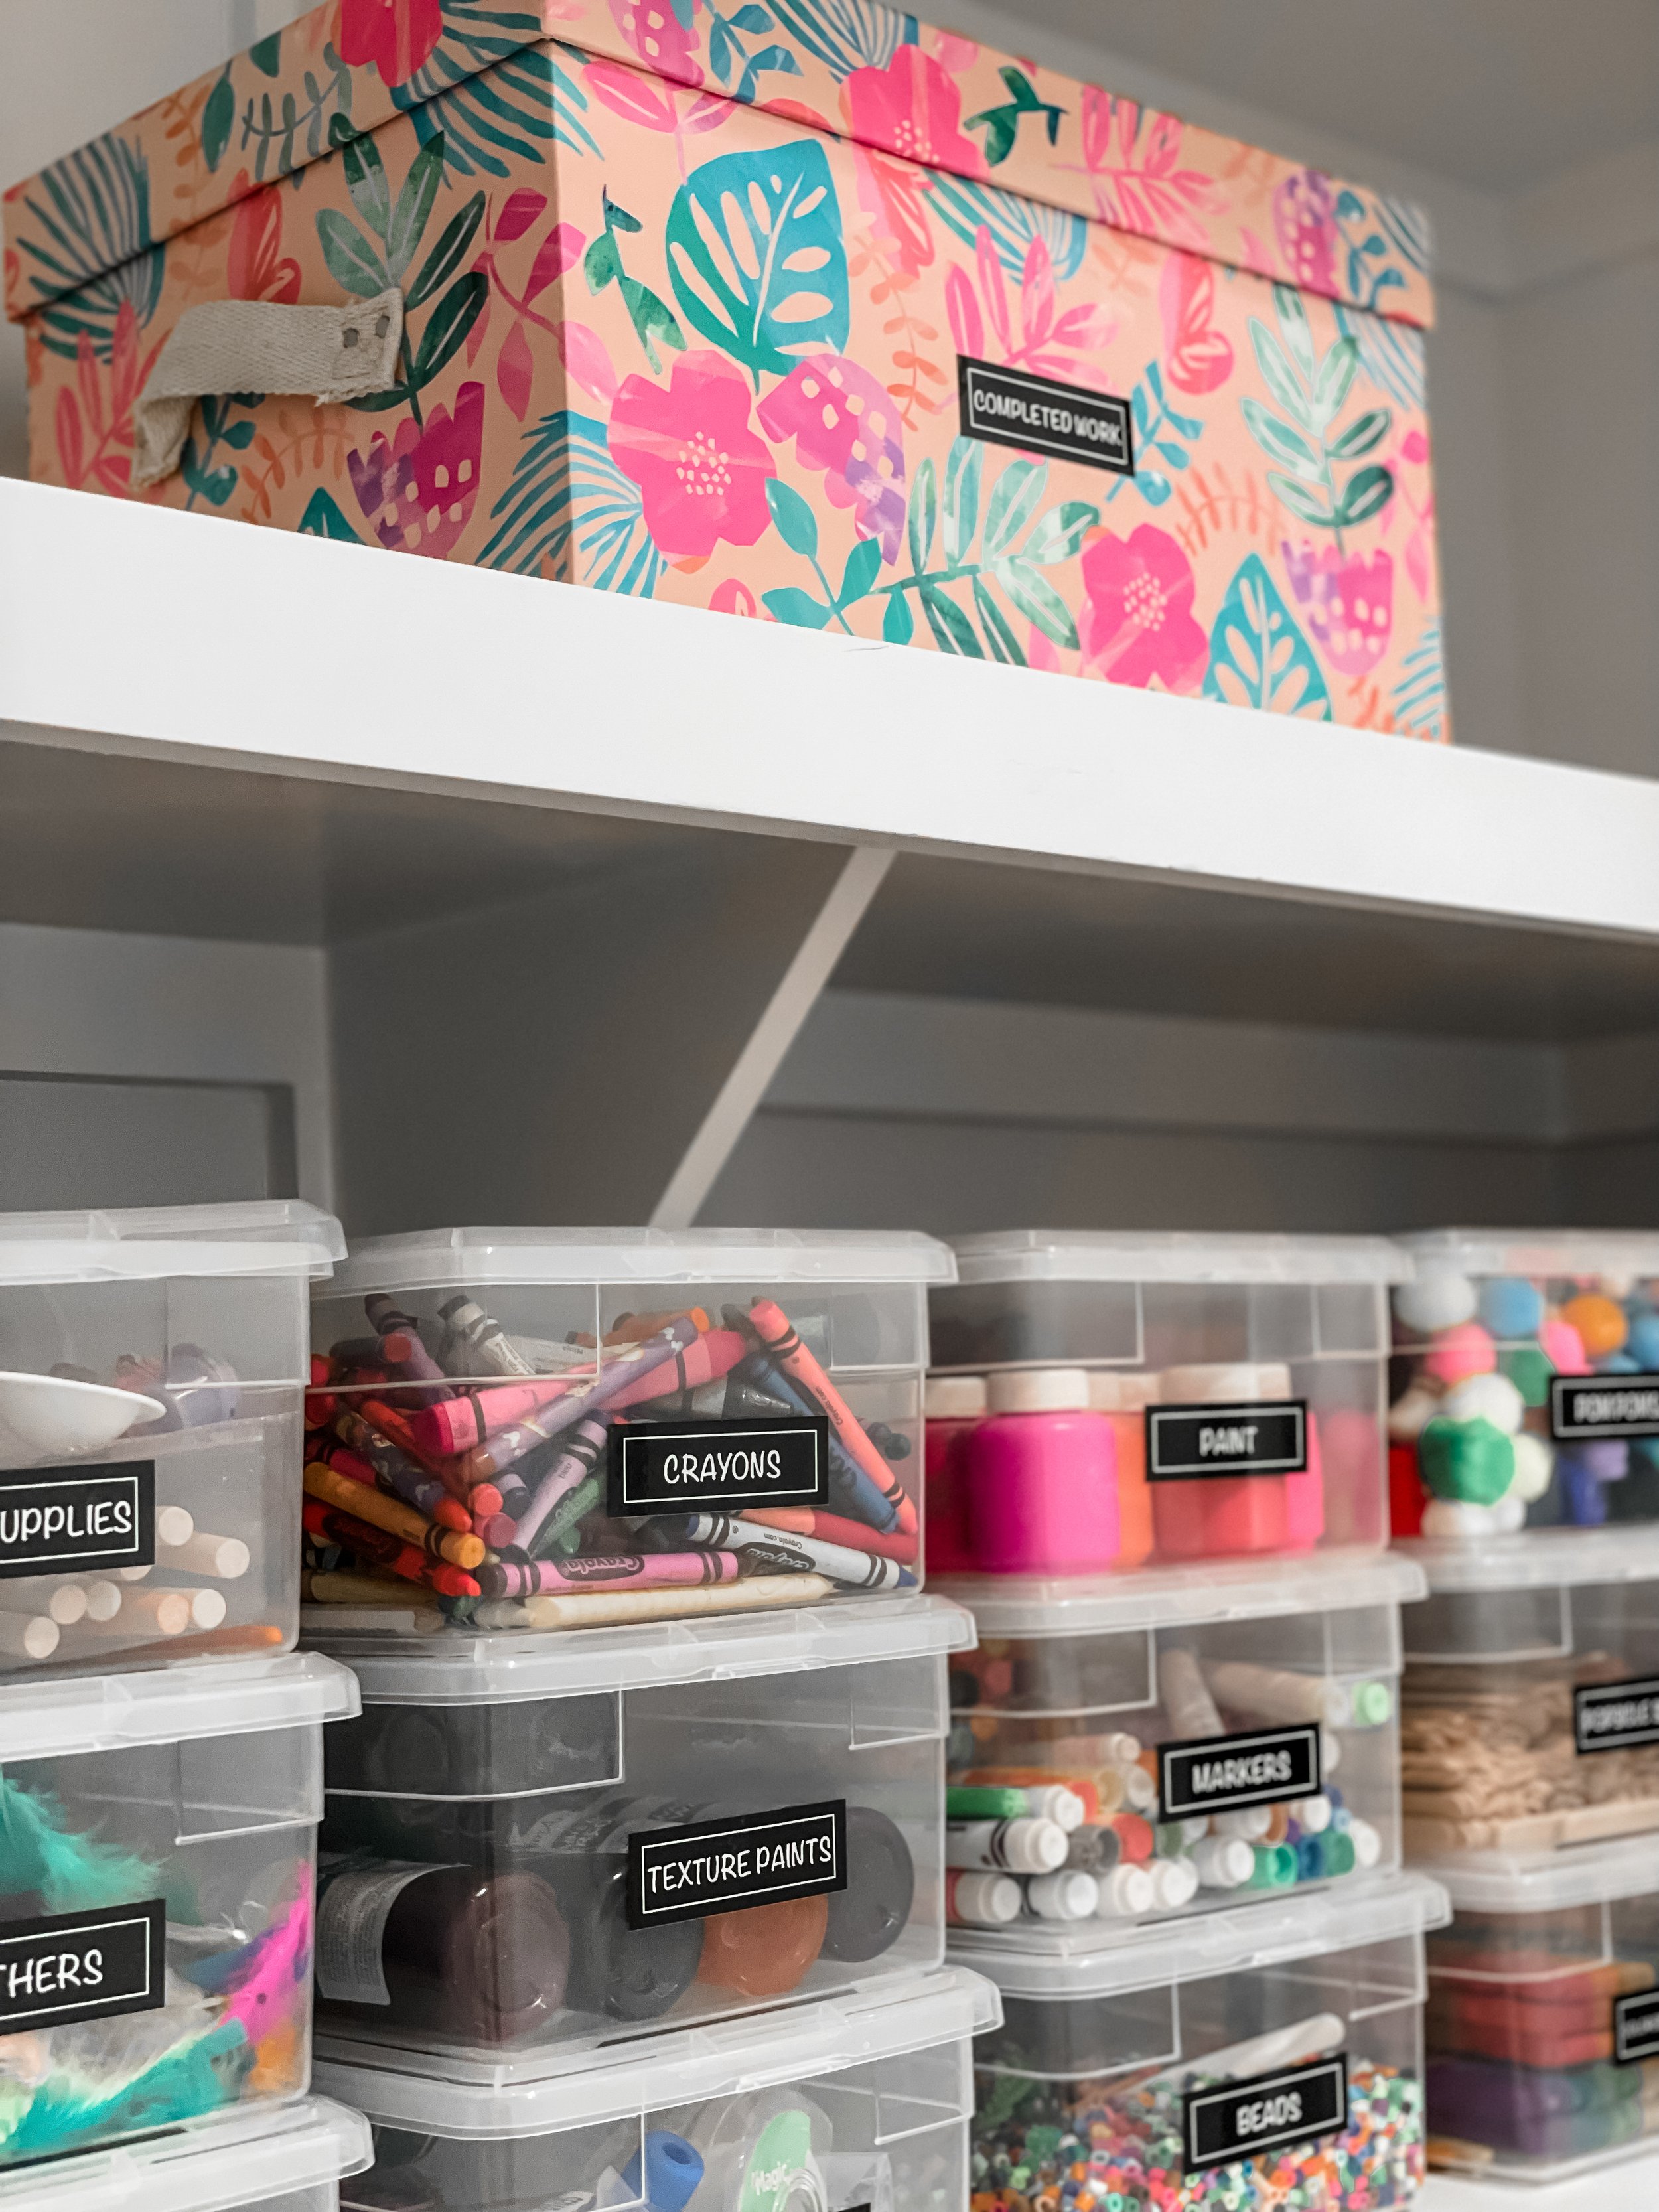
Make sure the bins you choose to house your kids’ art supplies are easy to clean - I REPEAT - easy to clean. Those cloth and woven baskets are adorable, but the second you put paint in them, they’re goners. Try plastic or acrylic bins and buckets that can withstand a paint or glue spill without having to be replaced.
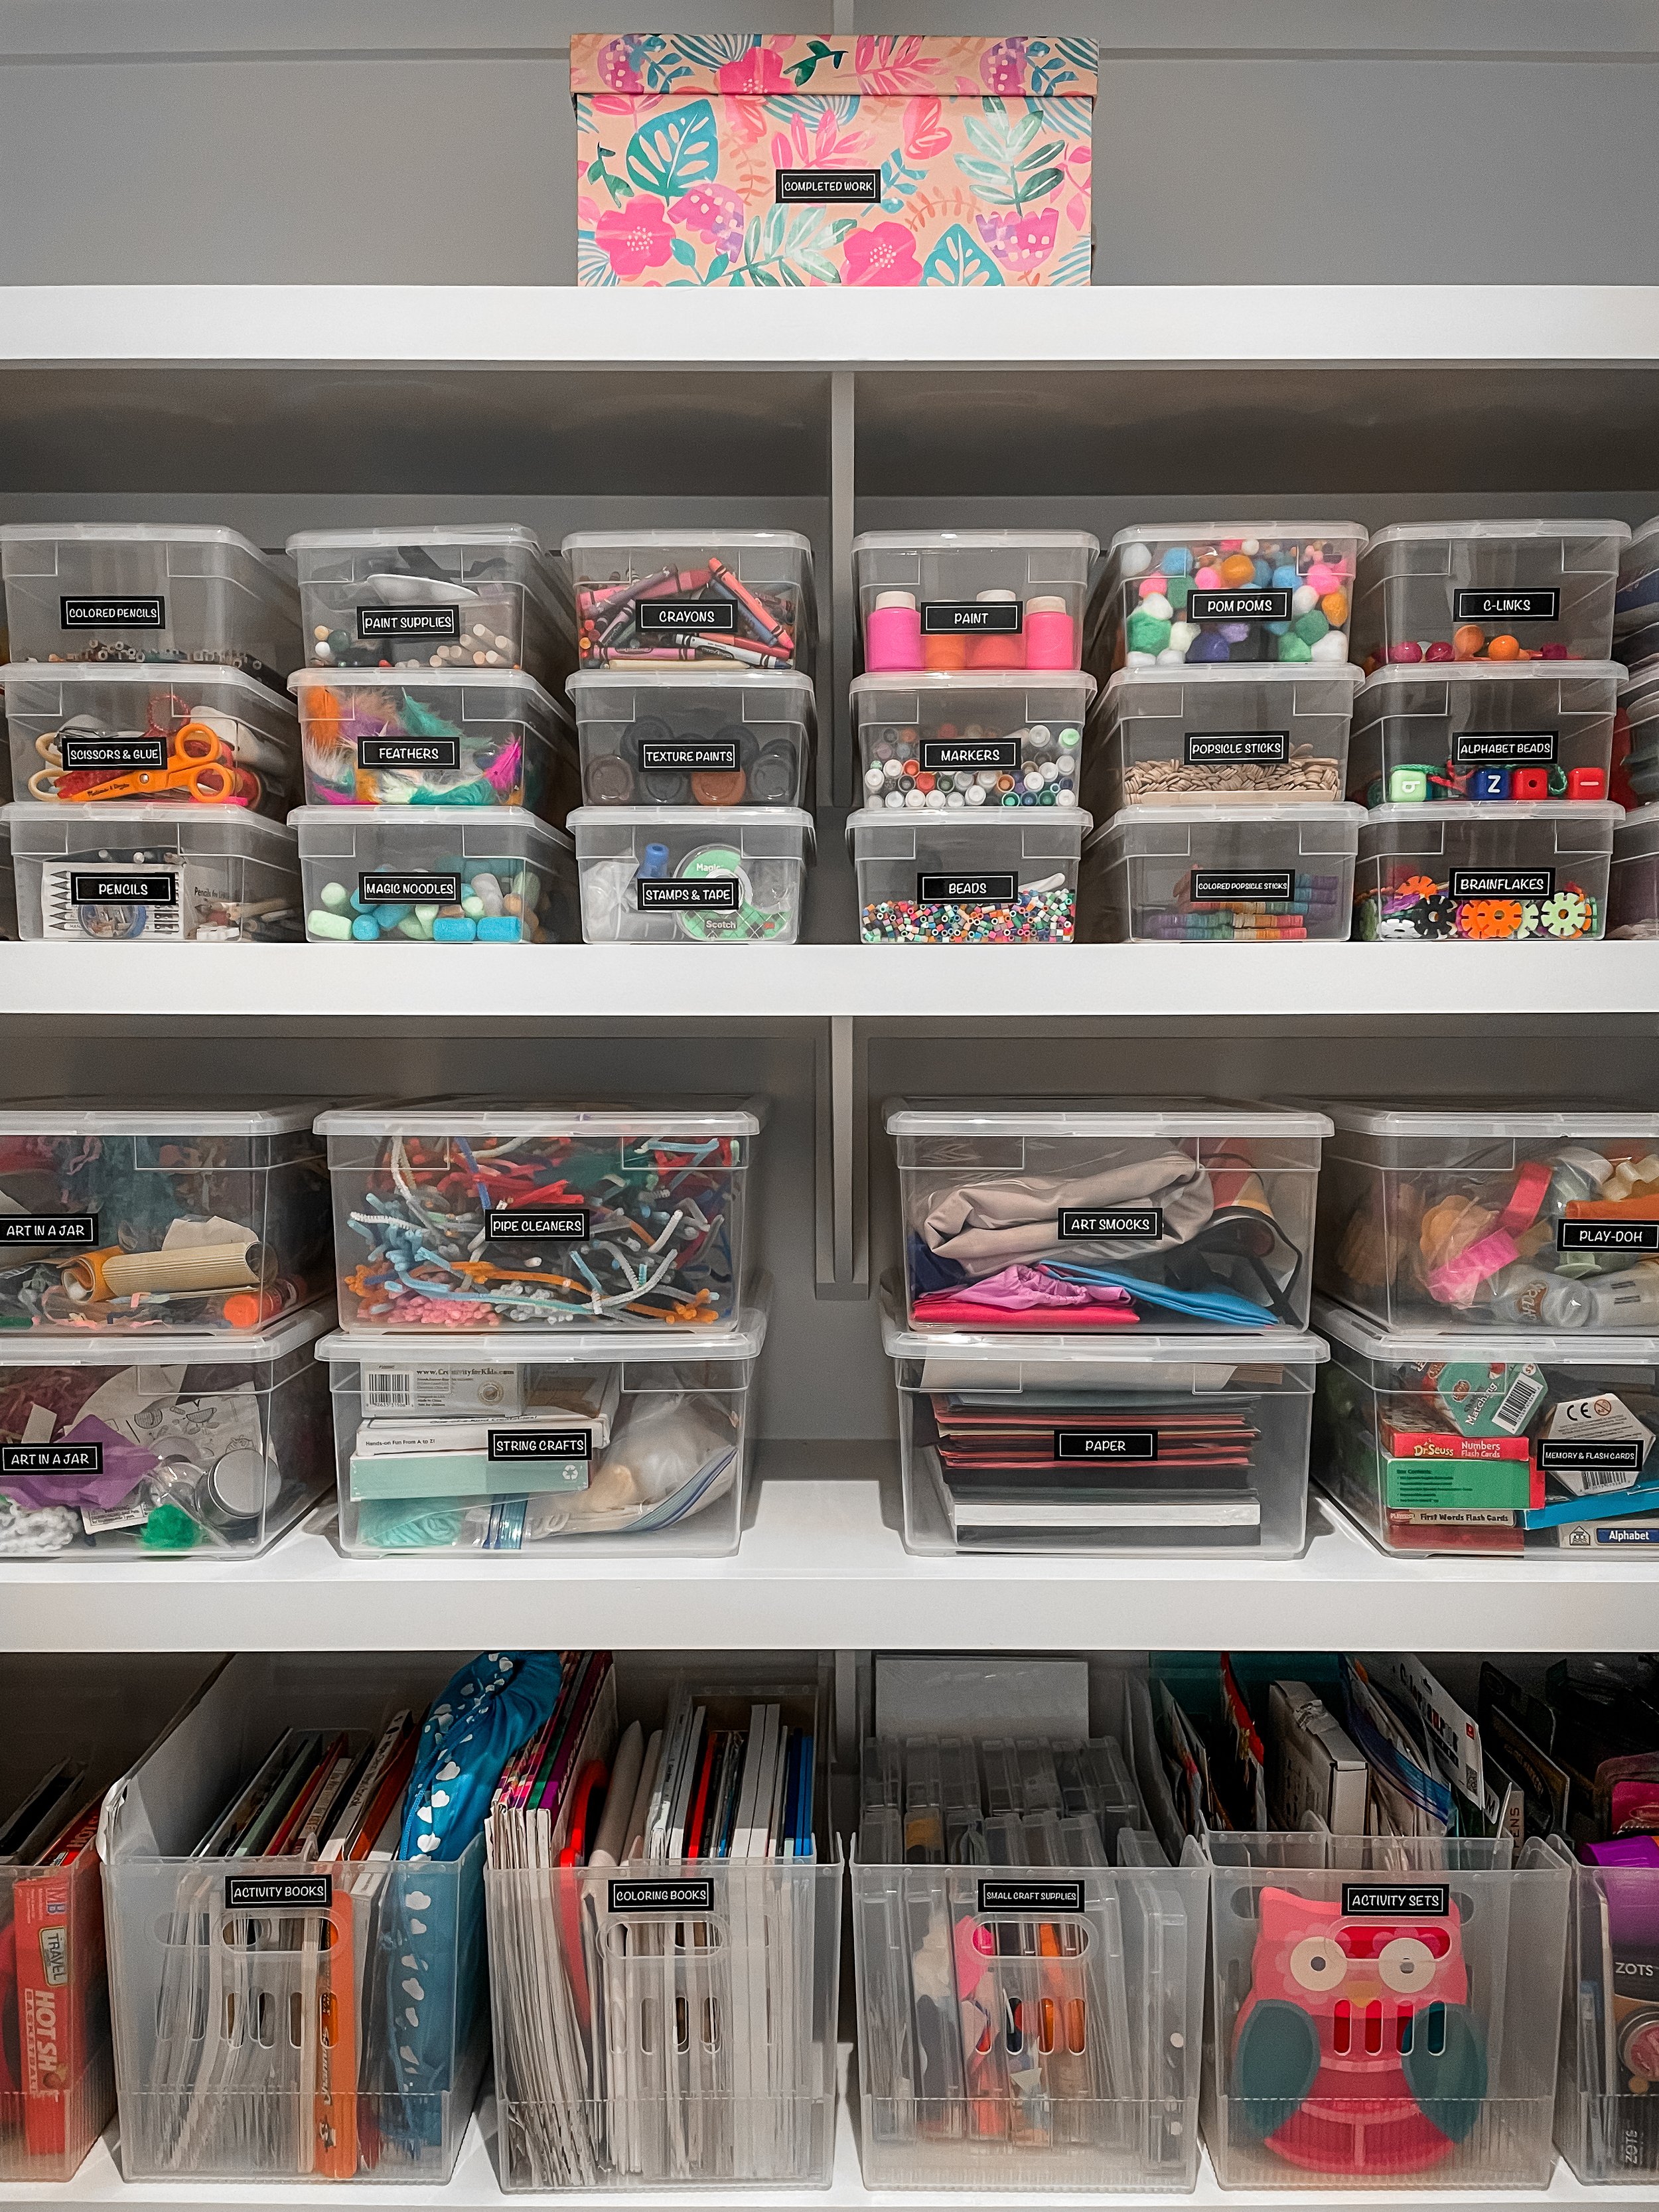
Once you have your supply categories and understand how much space you’re working with, choosing the right bins for your space will be easier. Here are some products we recommend:
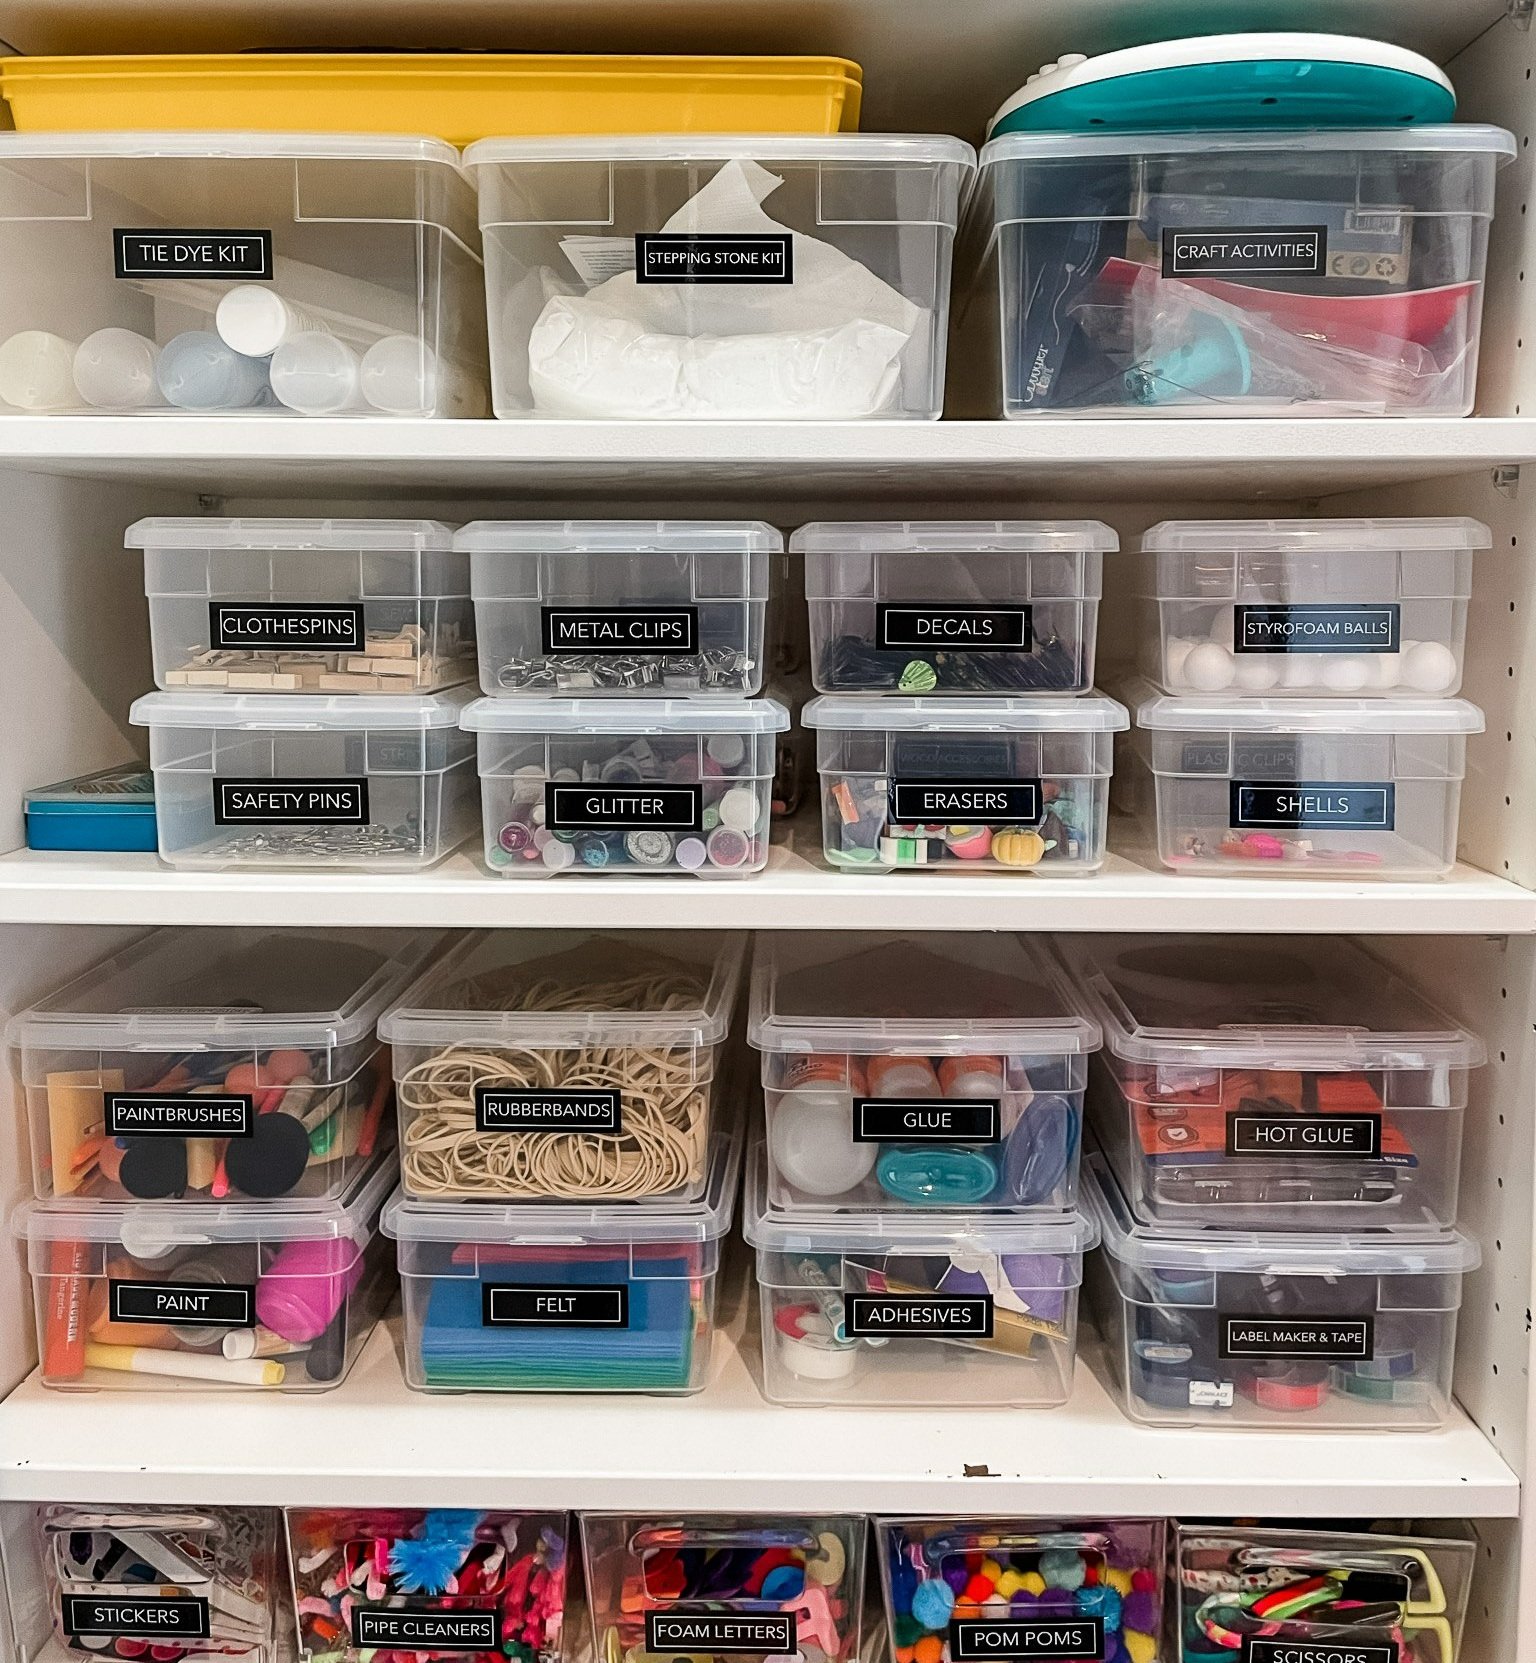
These clear storage boxes that are easy to clean and easier to stack. Take advantage of vertical space with this option.
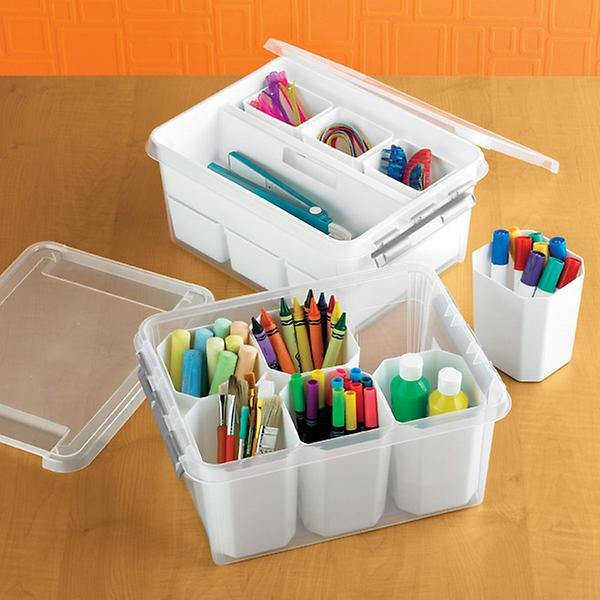
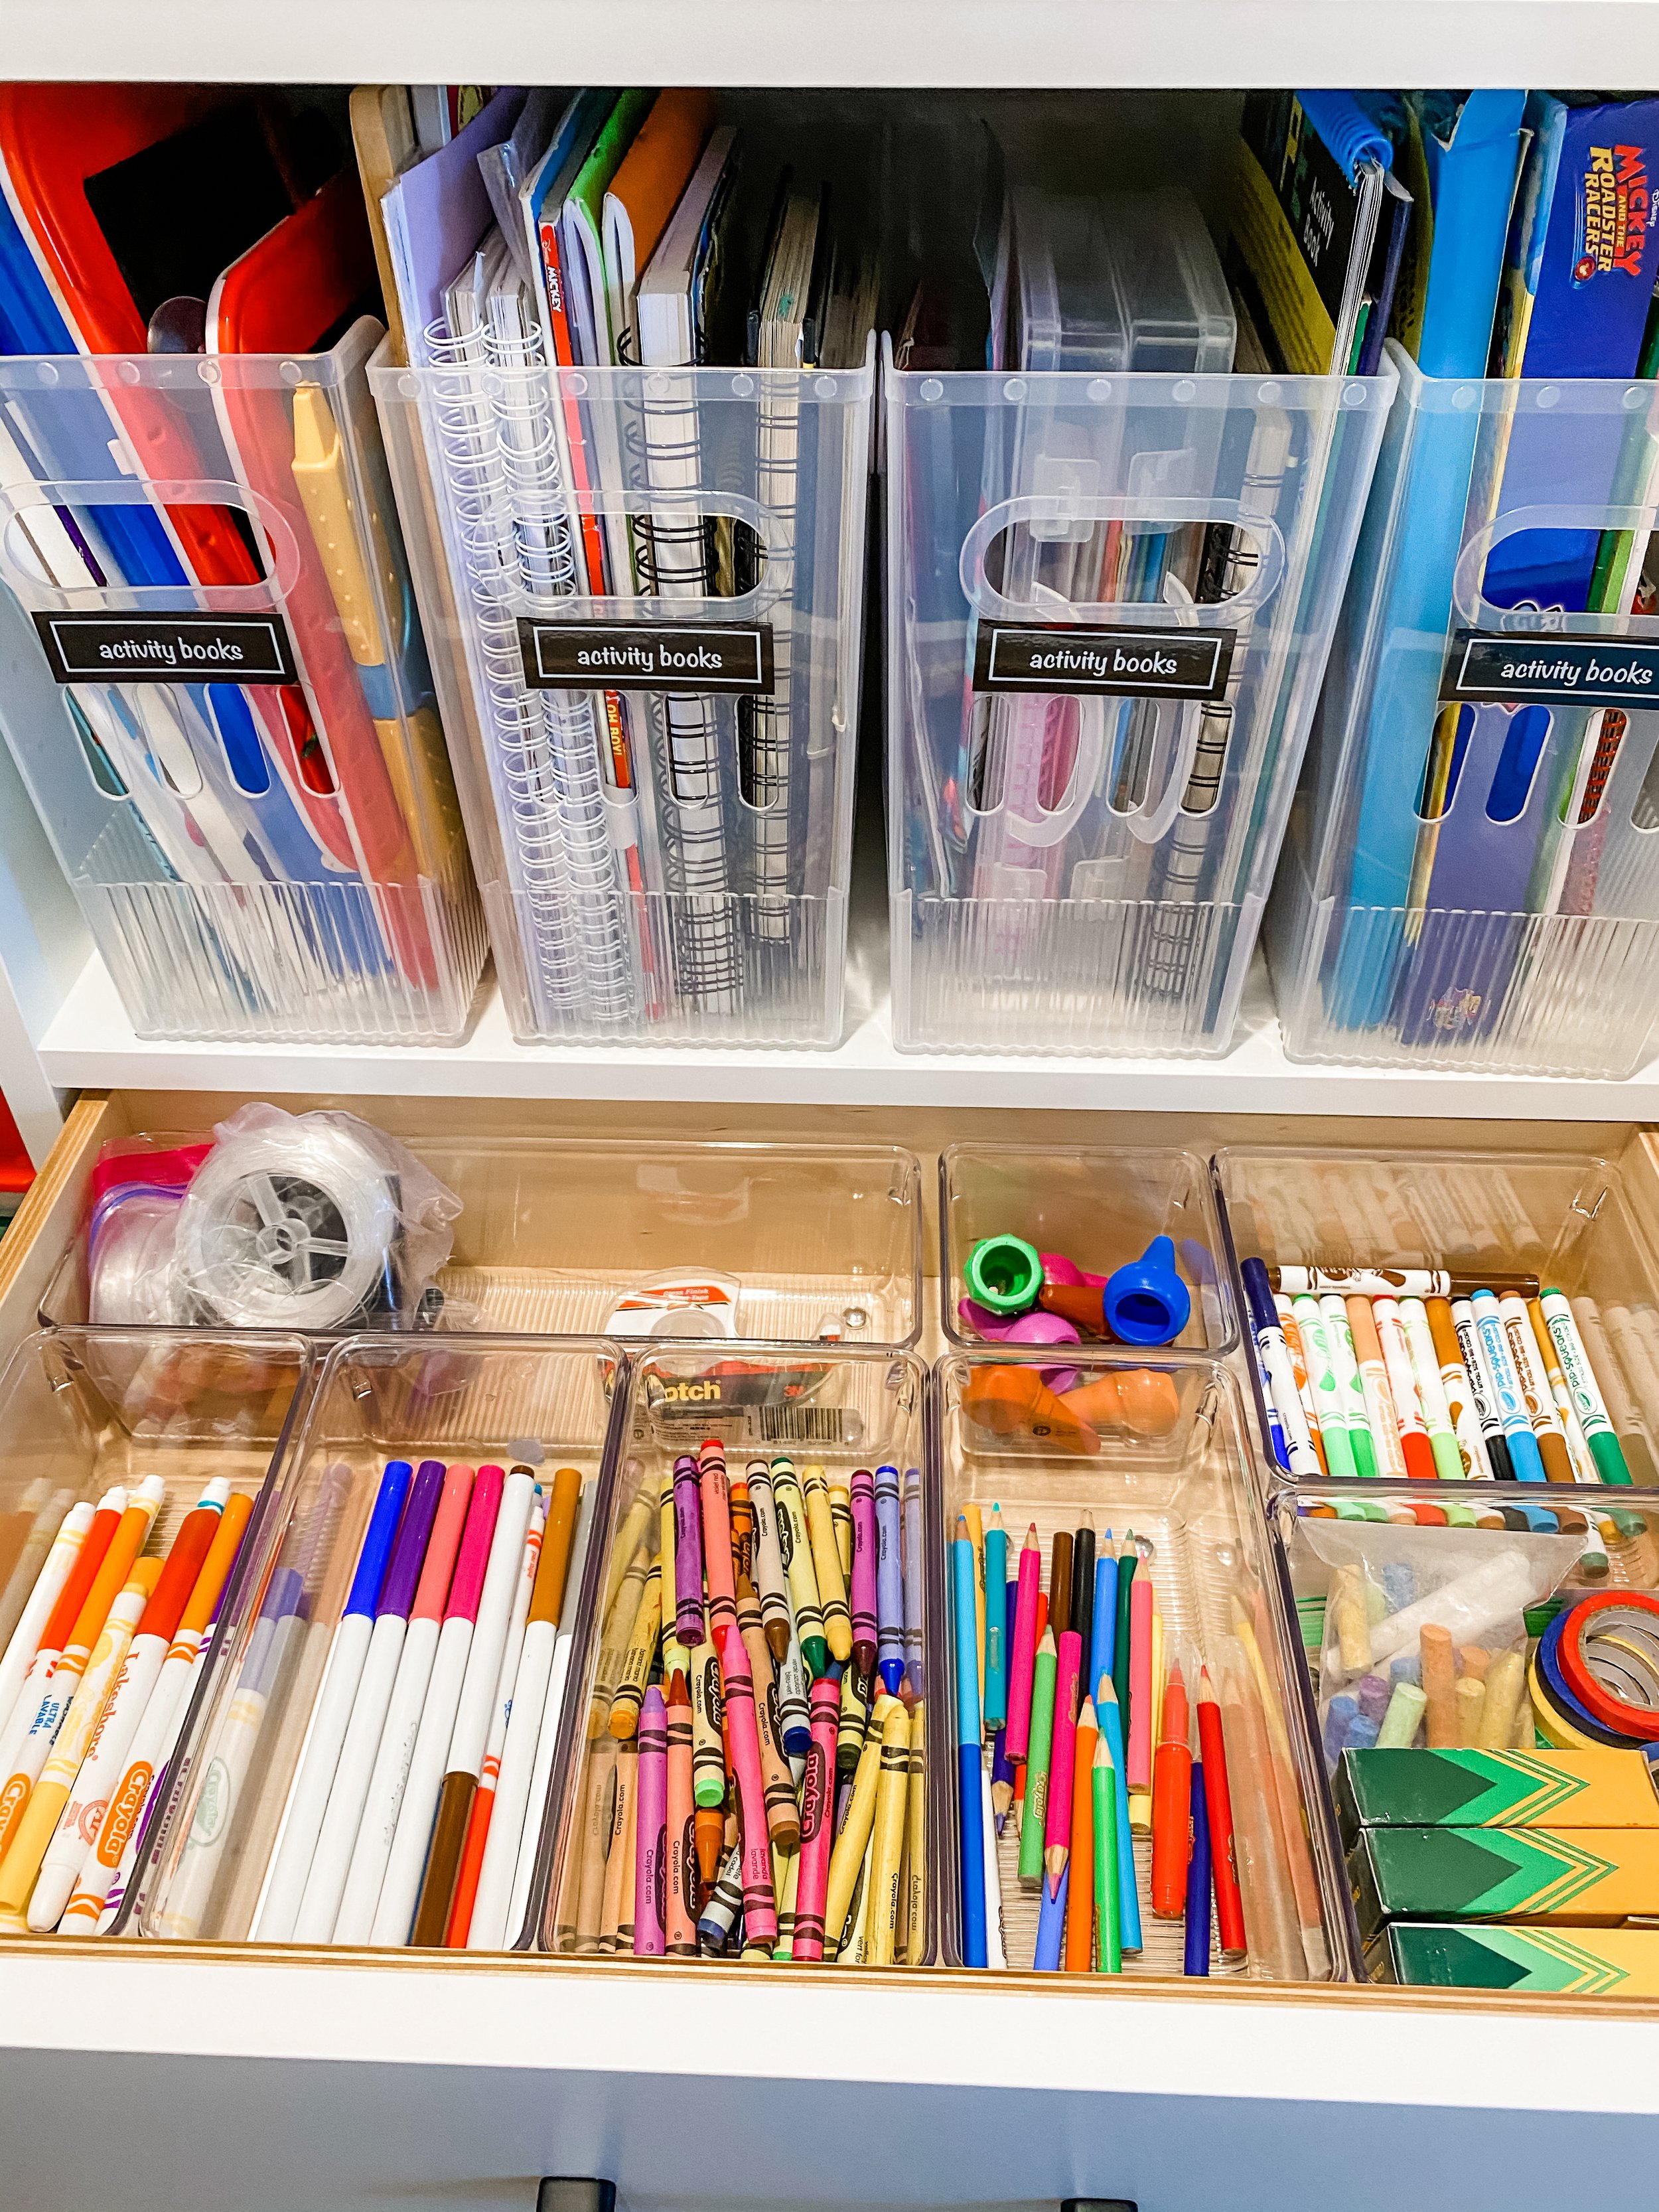
These SmartStore Totes that come with different-sized inserts, perfect for micro-organizing within a larger category!
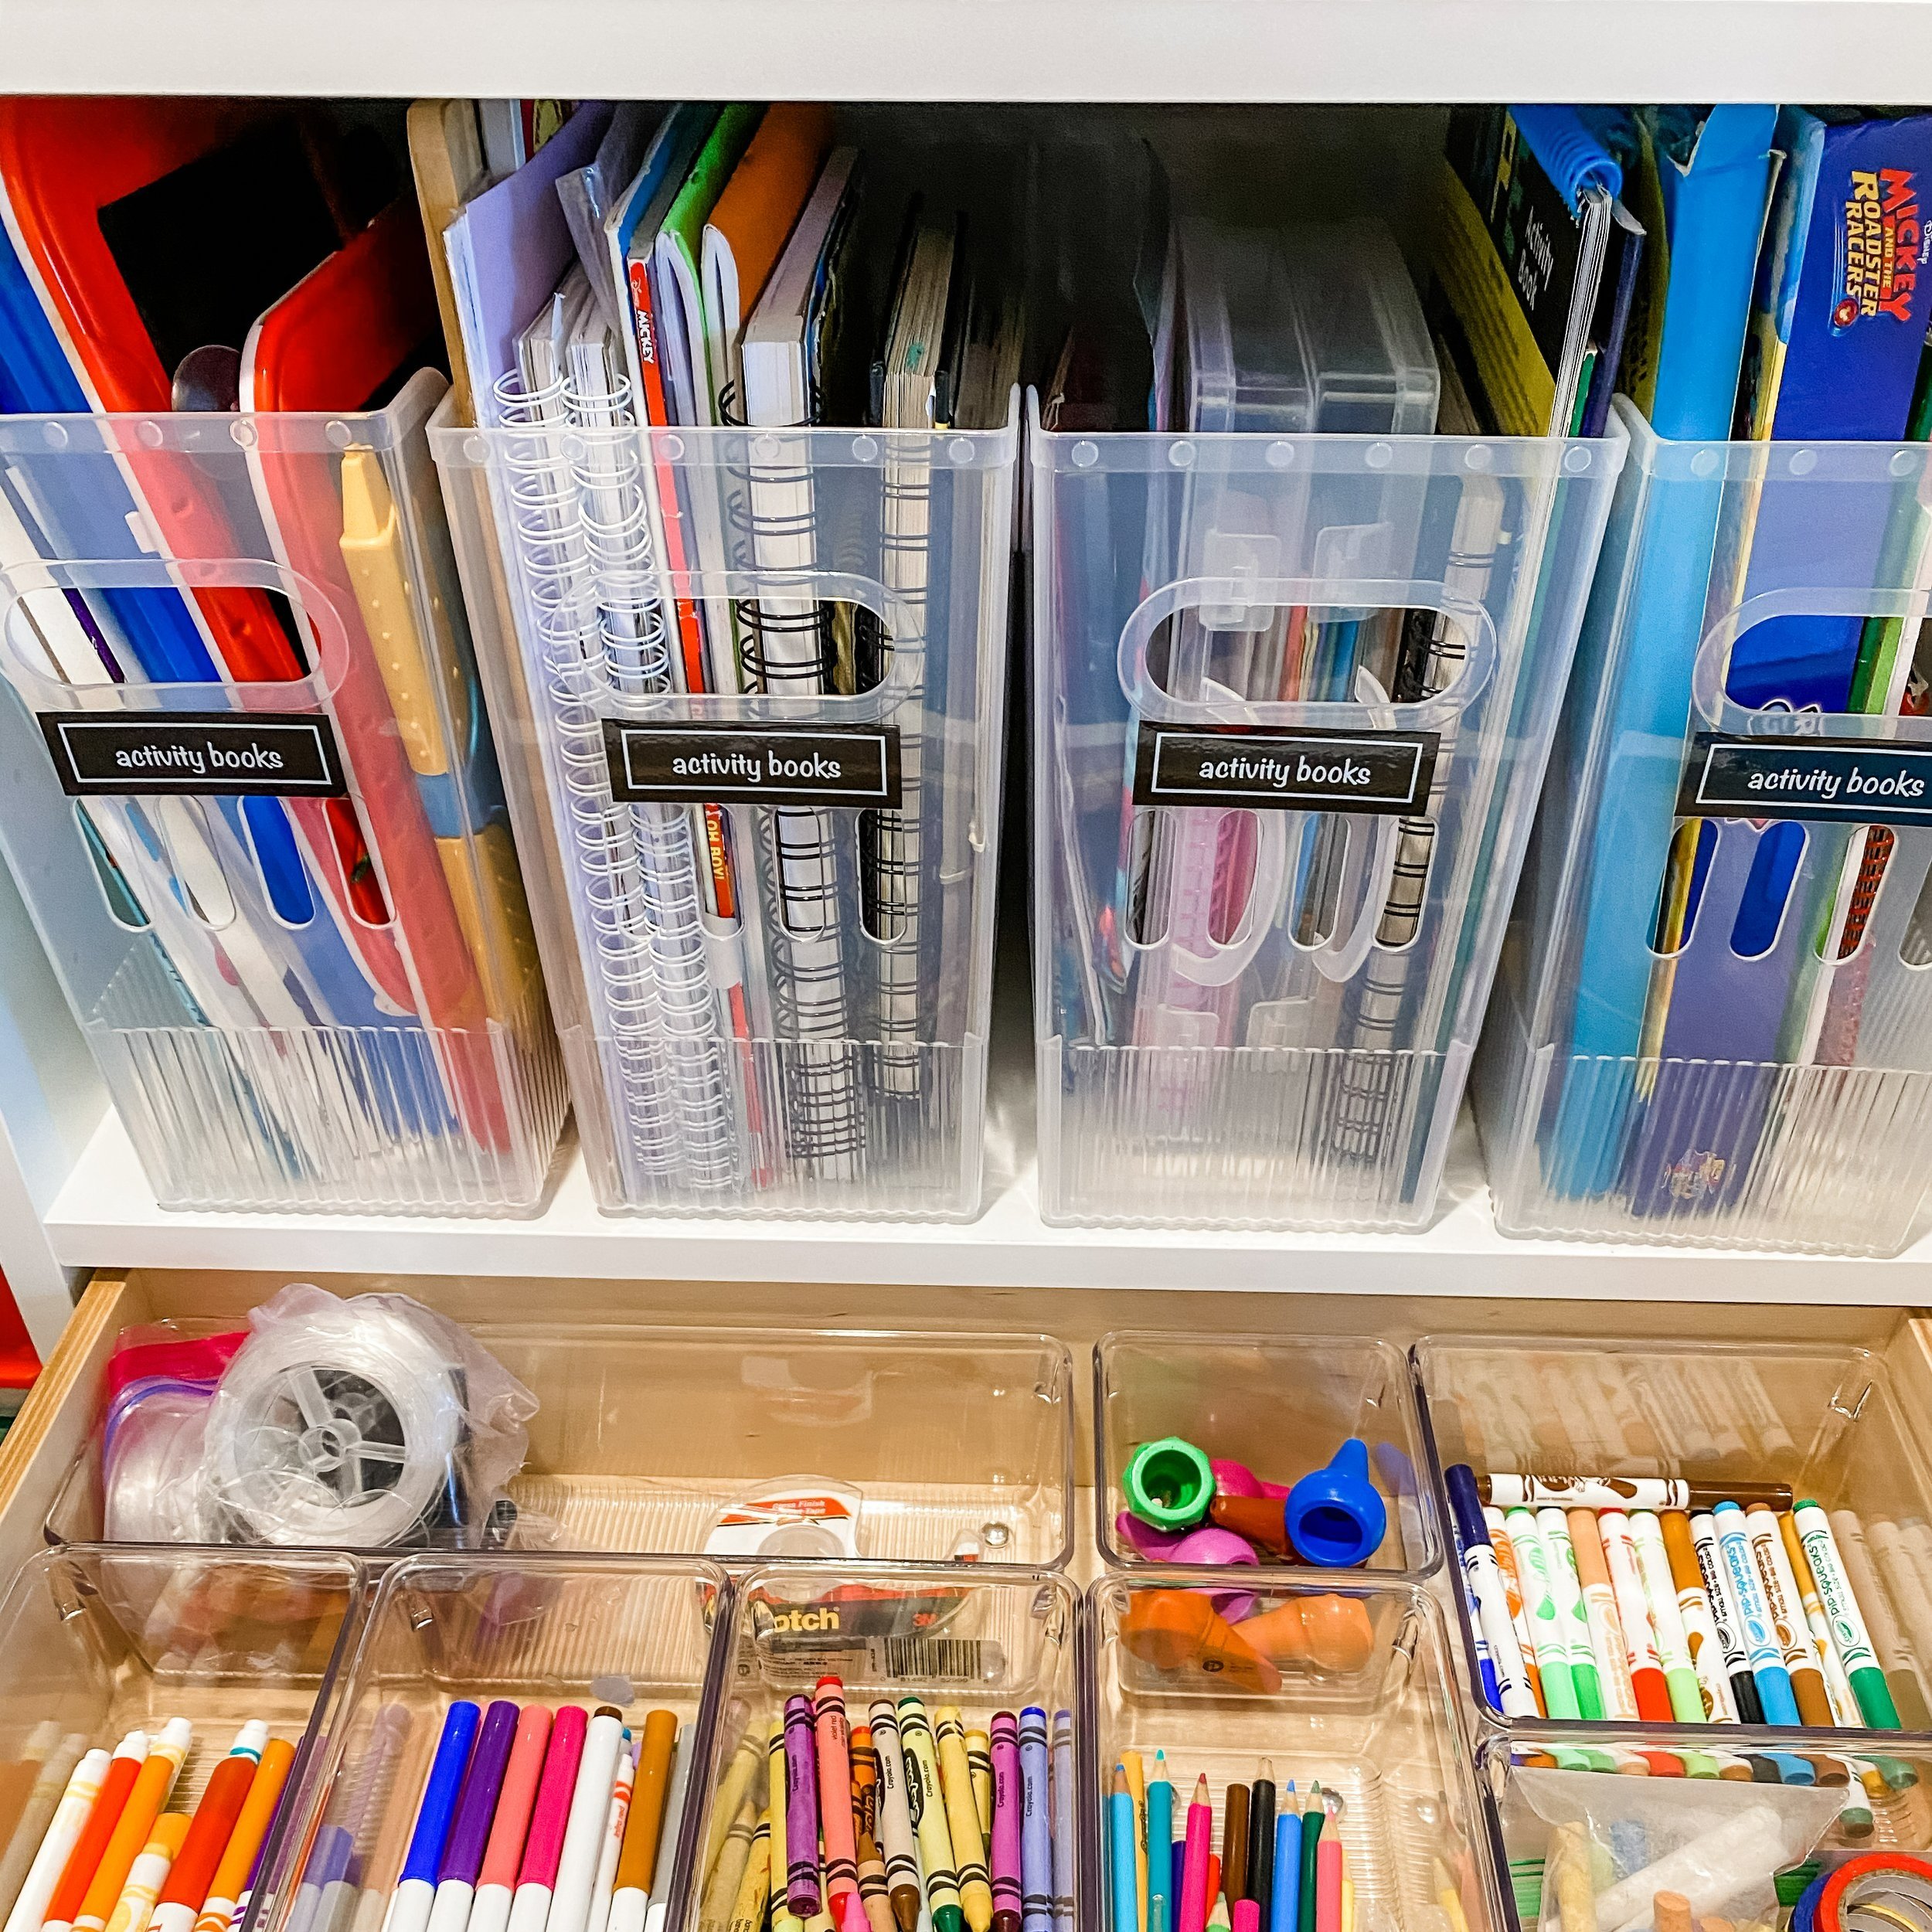
These tall storage bins that are perfect for paper, coloring books, activity sets, and more!

HACK - MOBILE ART SOLUTION
One option to consider is creating a mobile art station- whether you prepack it with everything your kids need to roll it to the kitchen table, or it’s left clear for them to stack the bins they want from the Art closet. Having a mobile cart will potentially keep the mess contained even when the supplies leave the closet. Having somewhere to place everything and the ability to easily roll it back into the closet is a game changer. An art cart is also a great option if you don’t have space for an art closet!
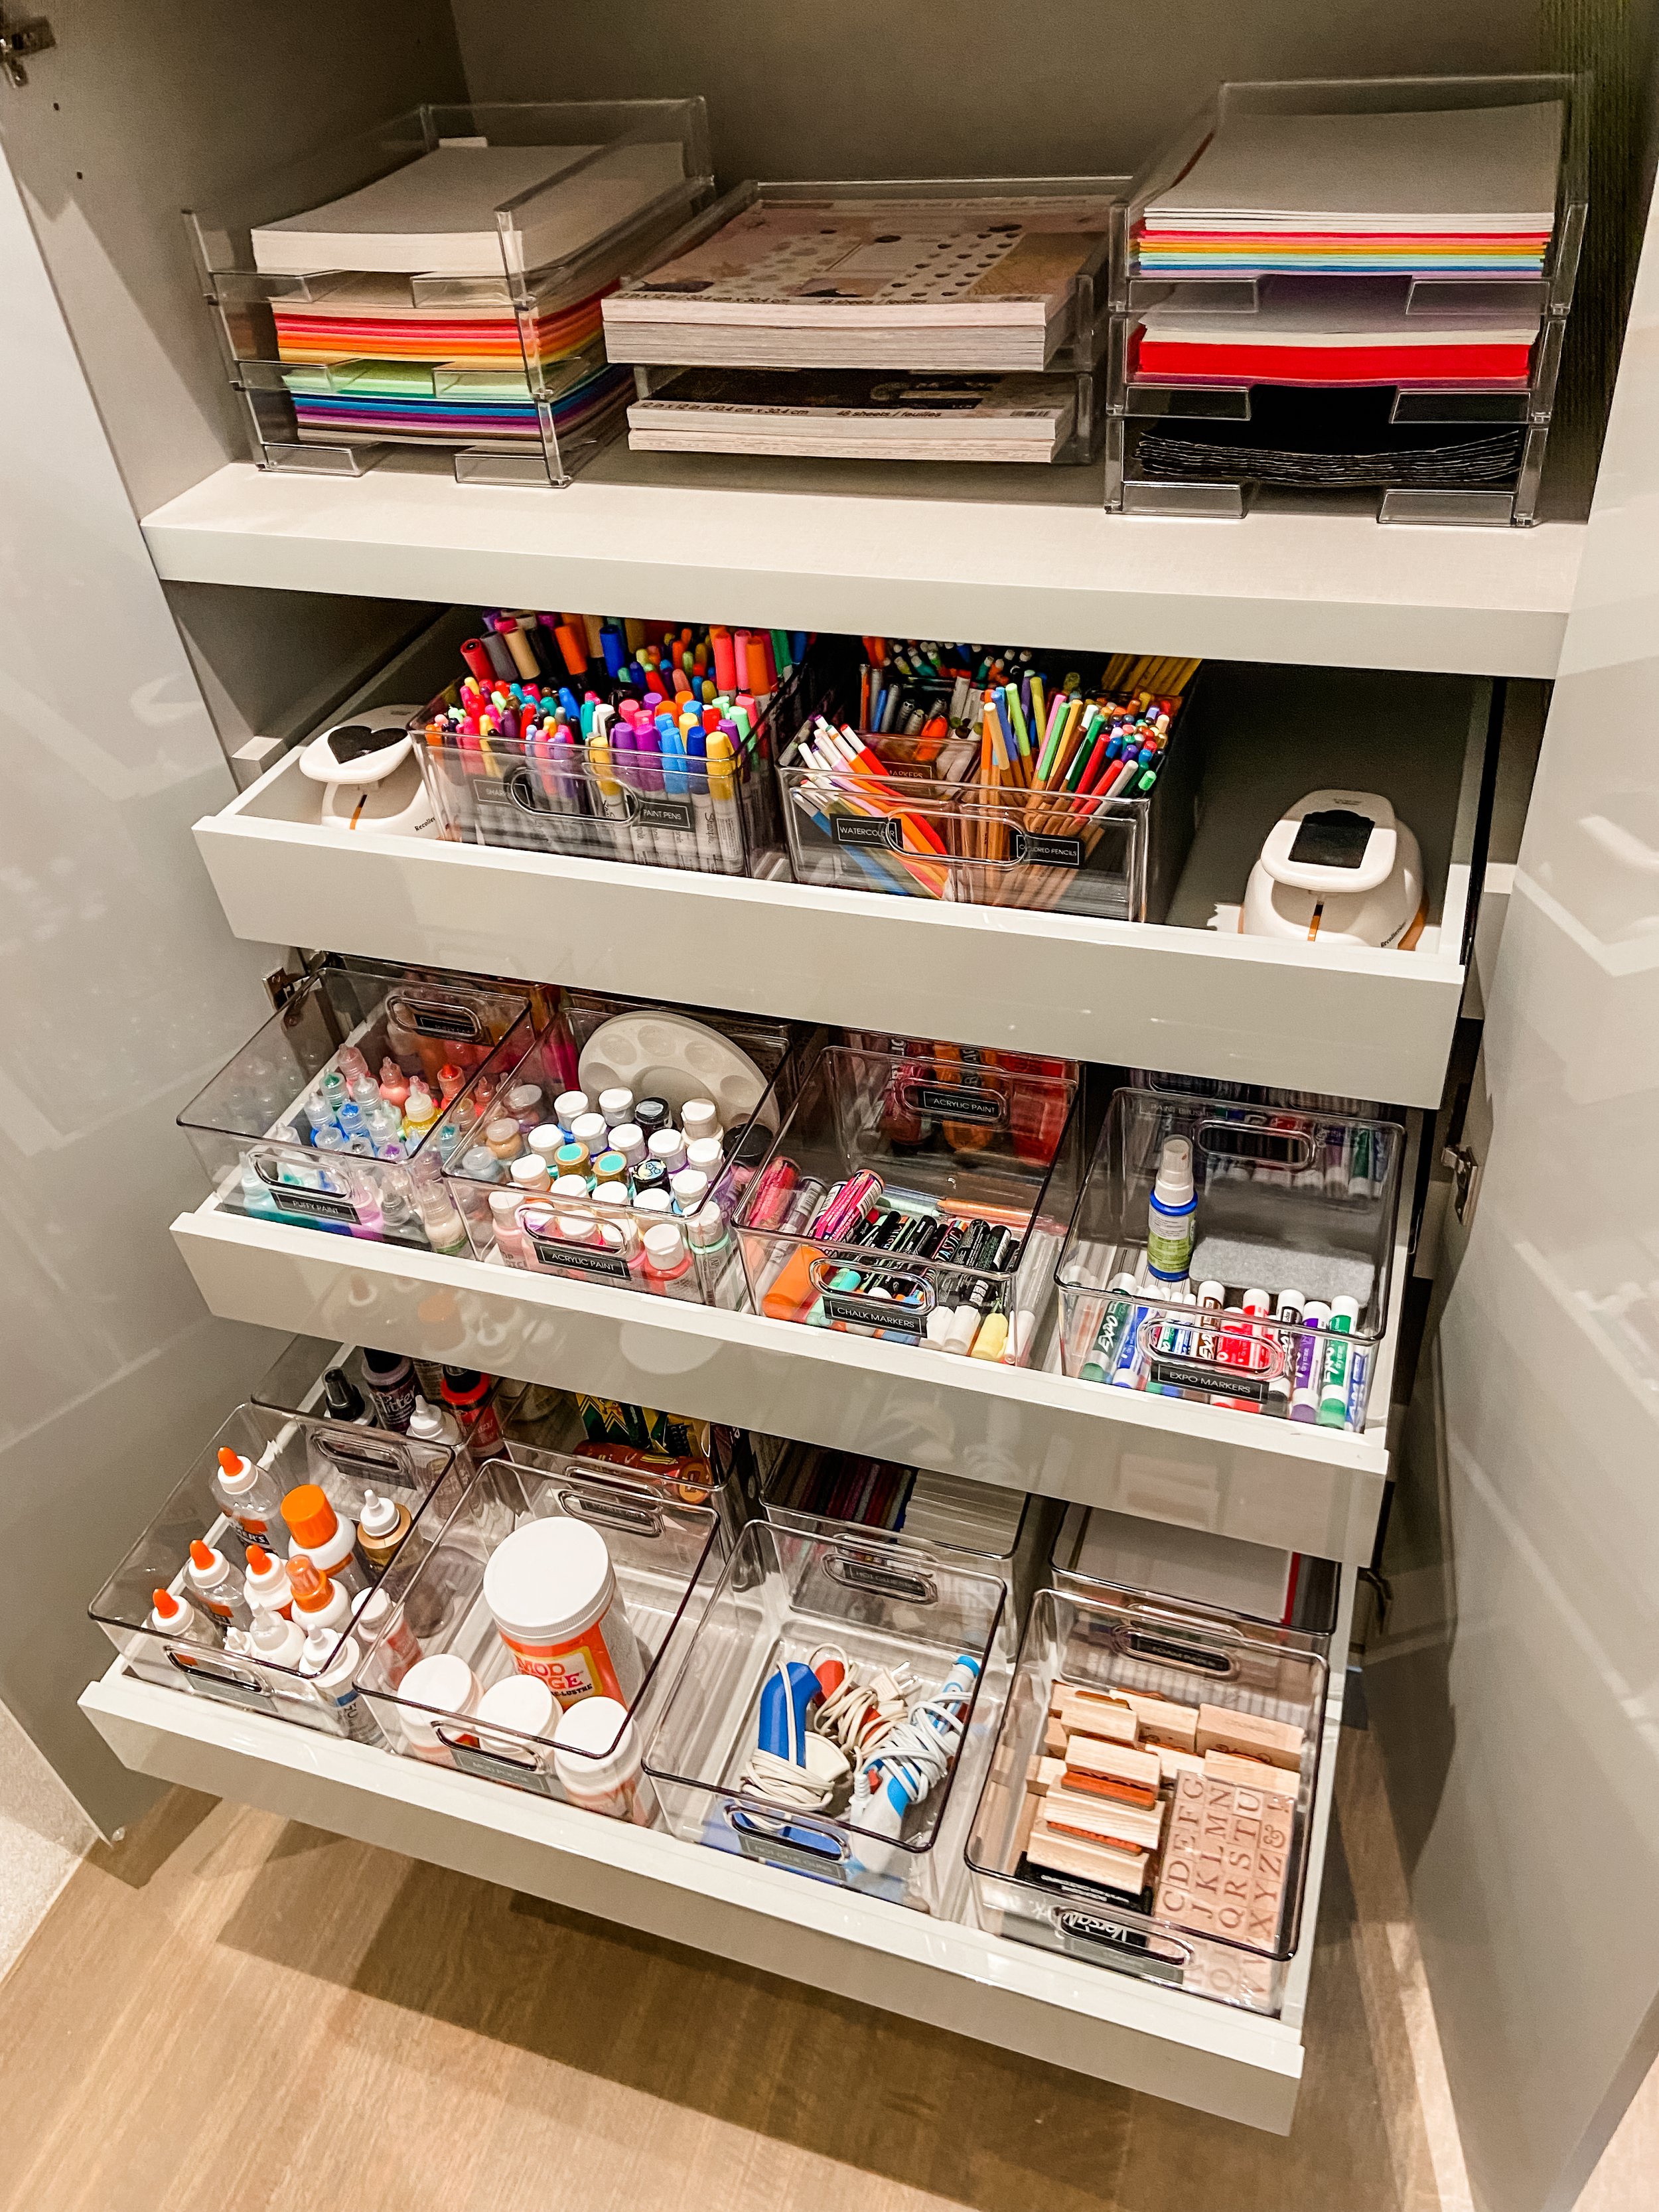
4) SPACE PLAN
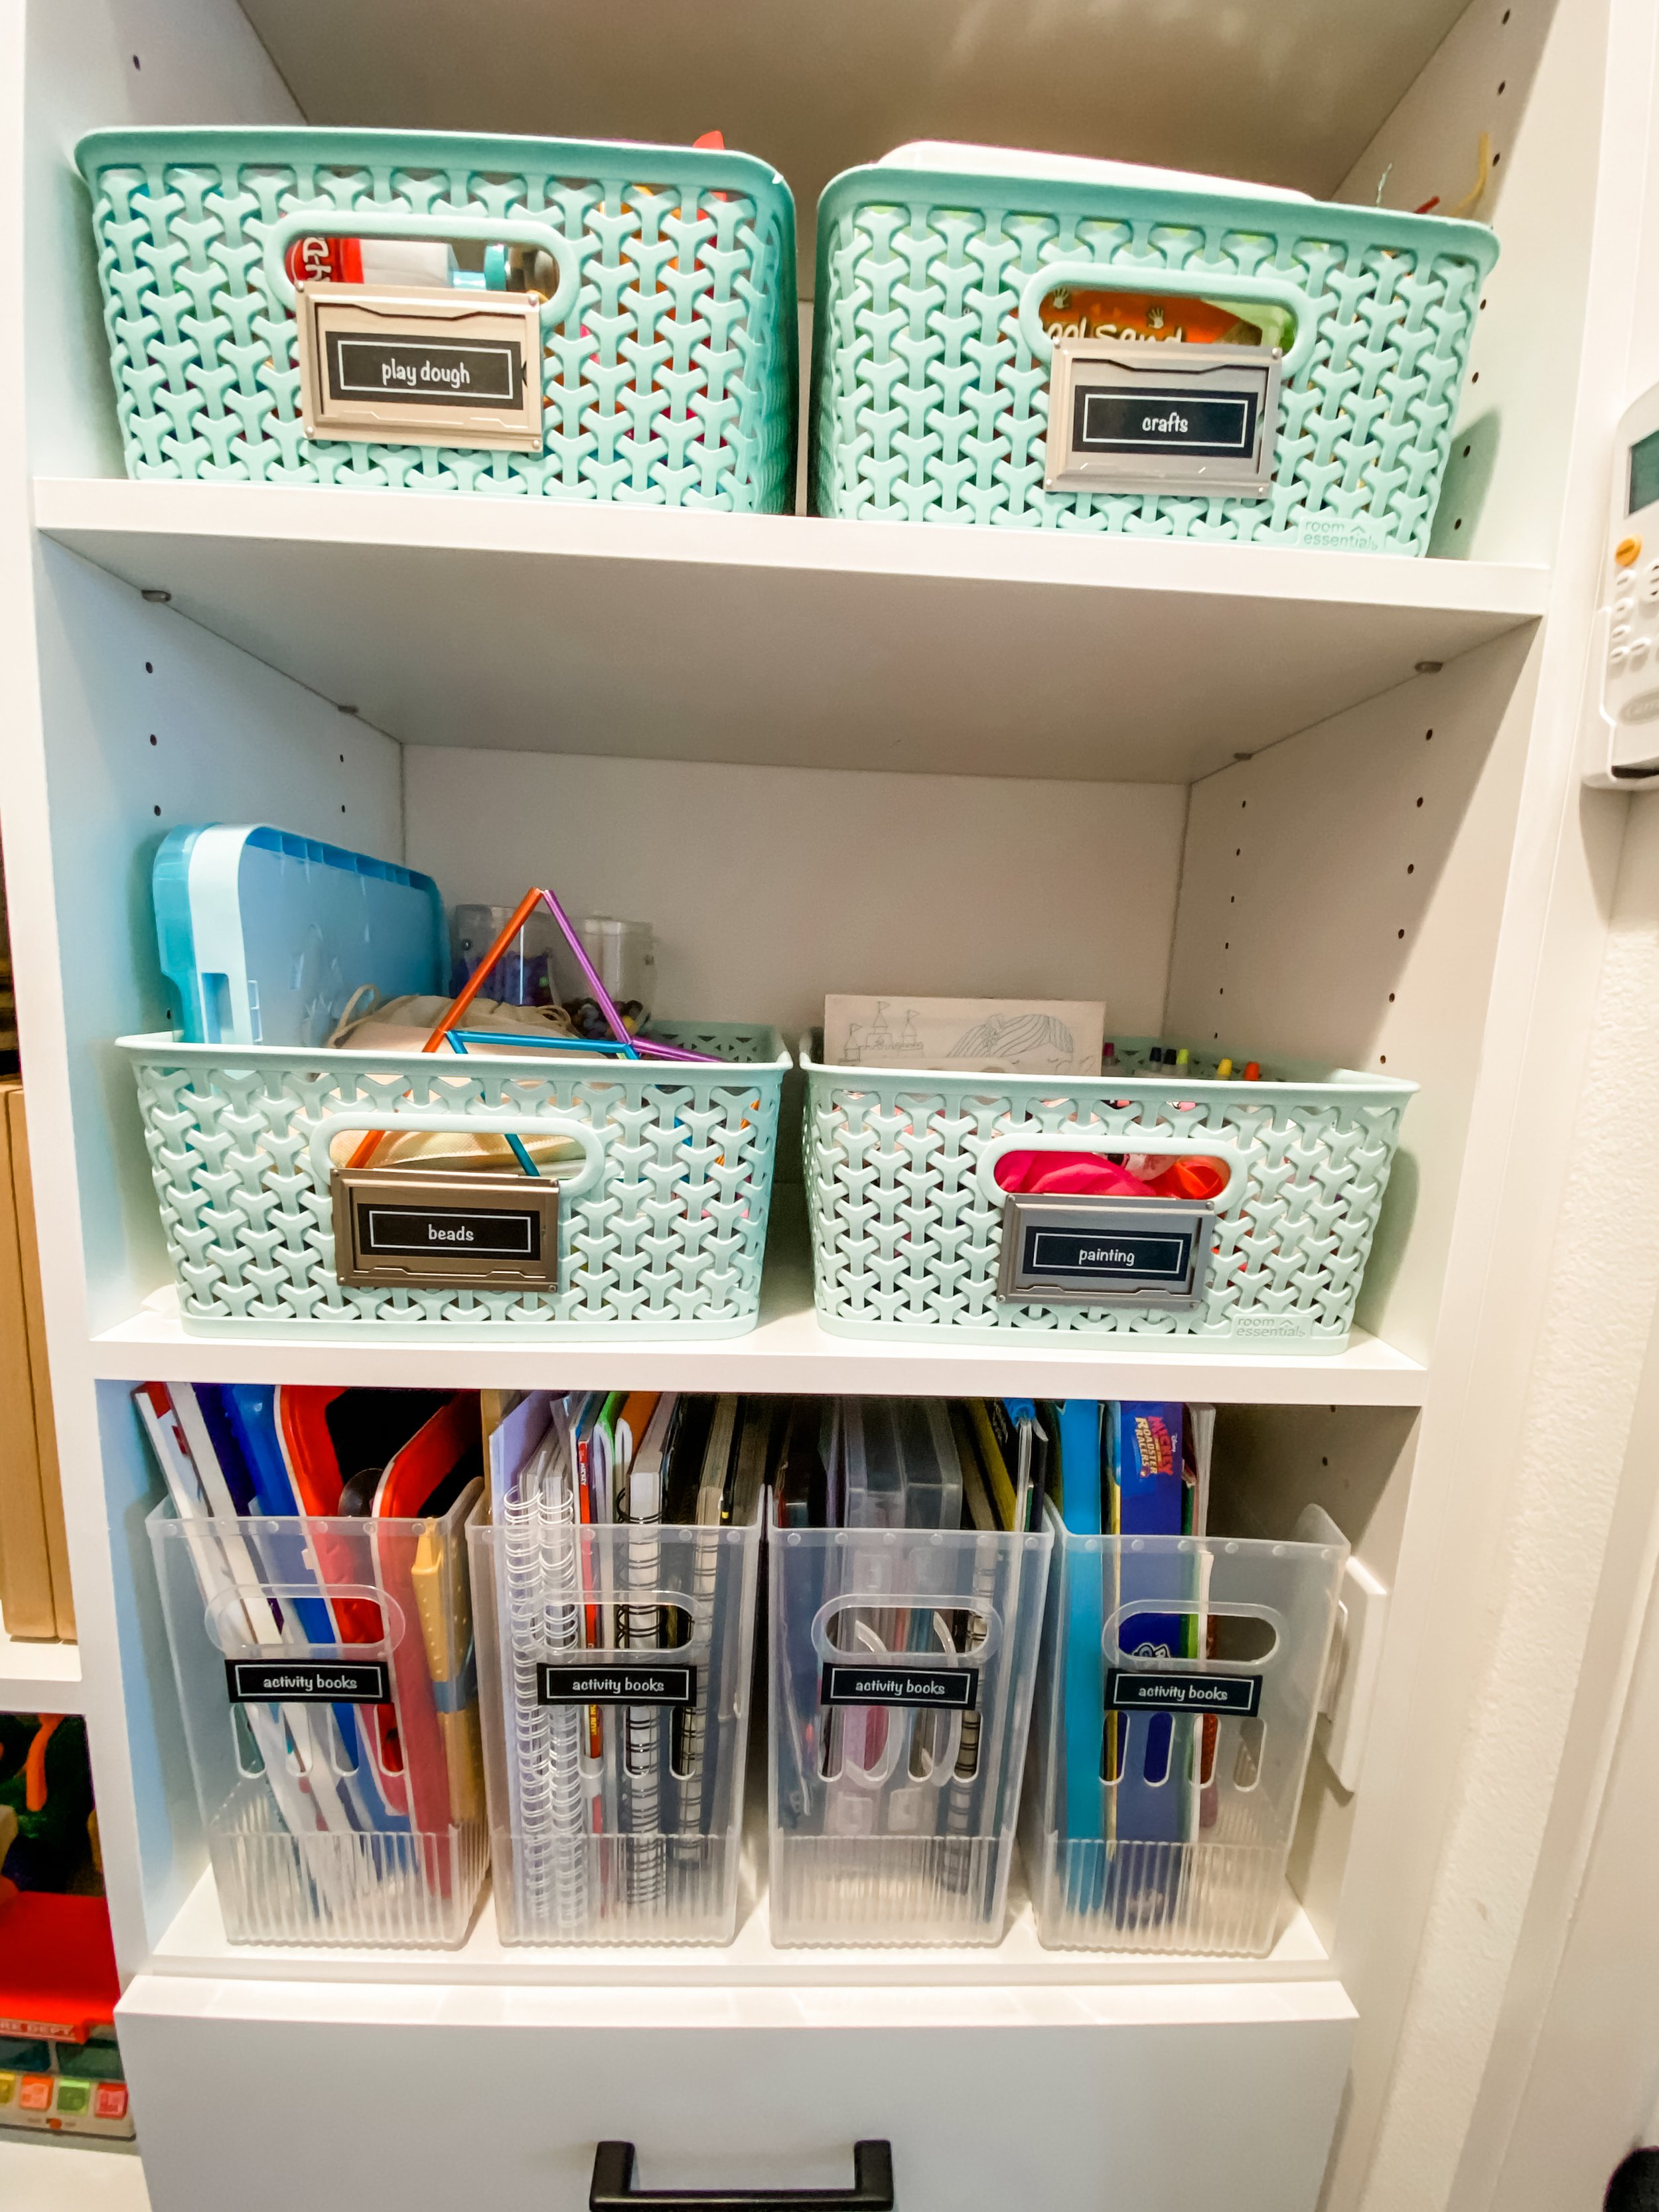
Once you choose your products, put them in the space and make a plan that will create a simple routine for you and your kids. Don’t over-complicate it. Make sure that the more frequently-used items are easily accessible and easy for the kids to put away when they are finished, and keep the glitter way up high. 😉
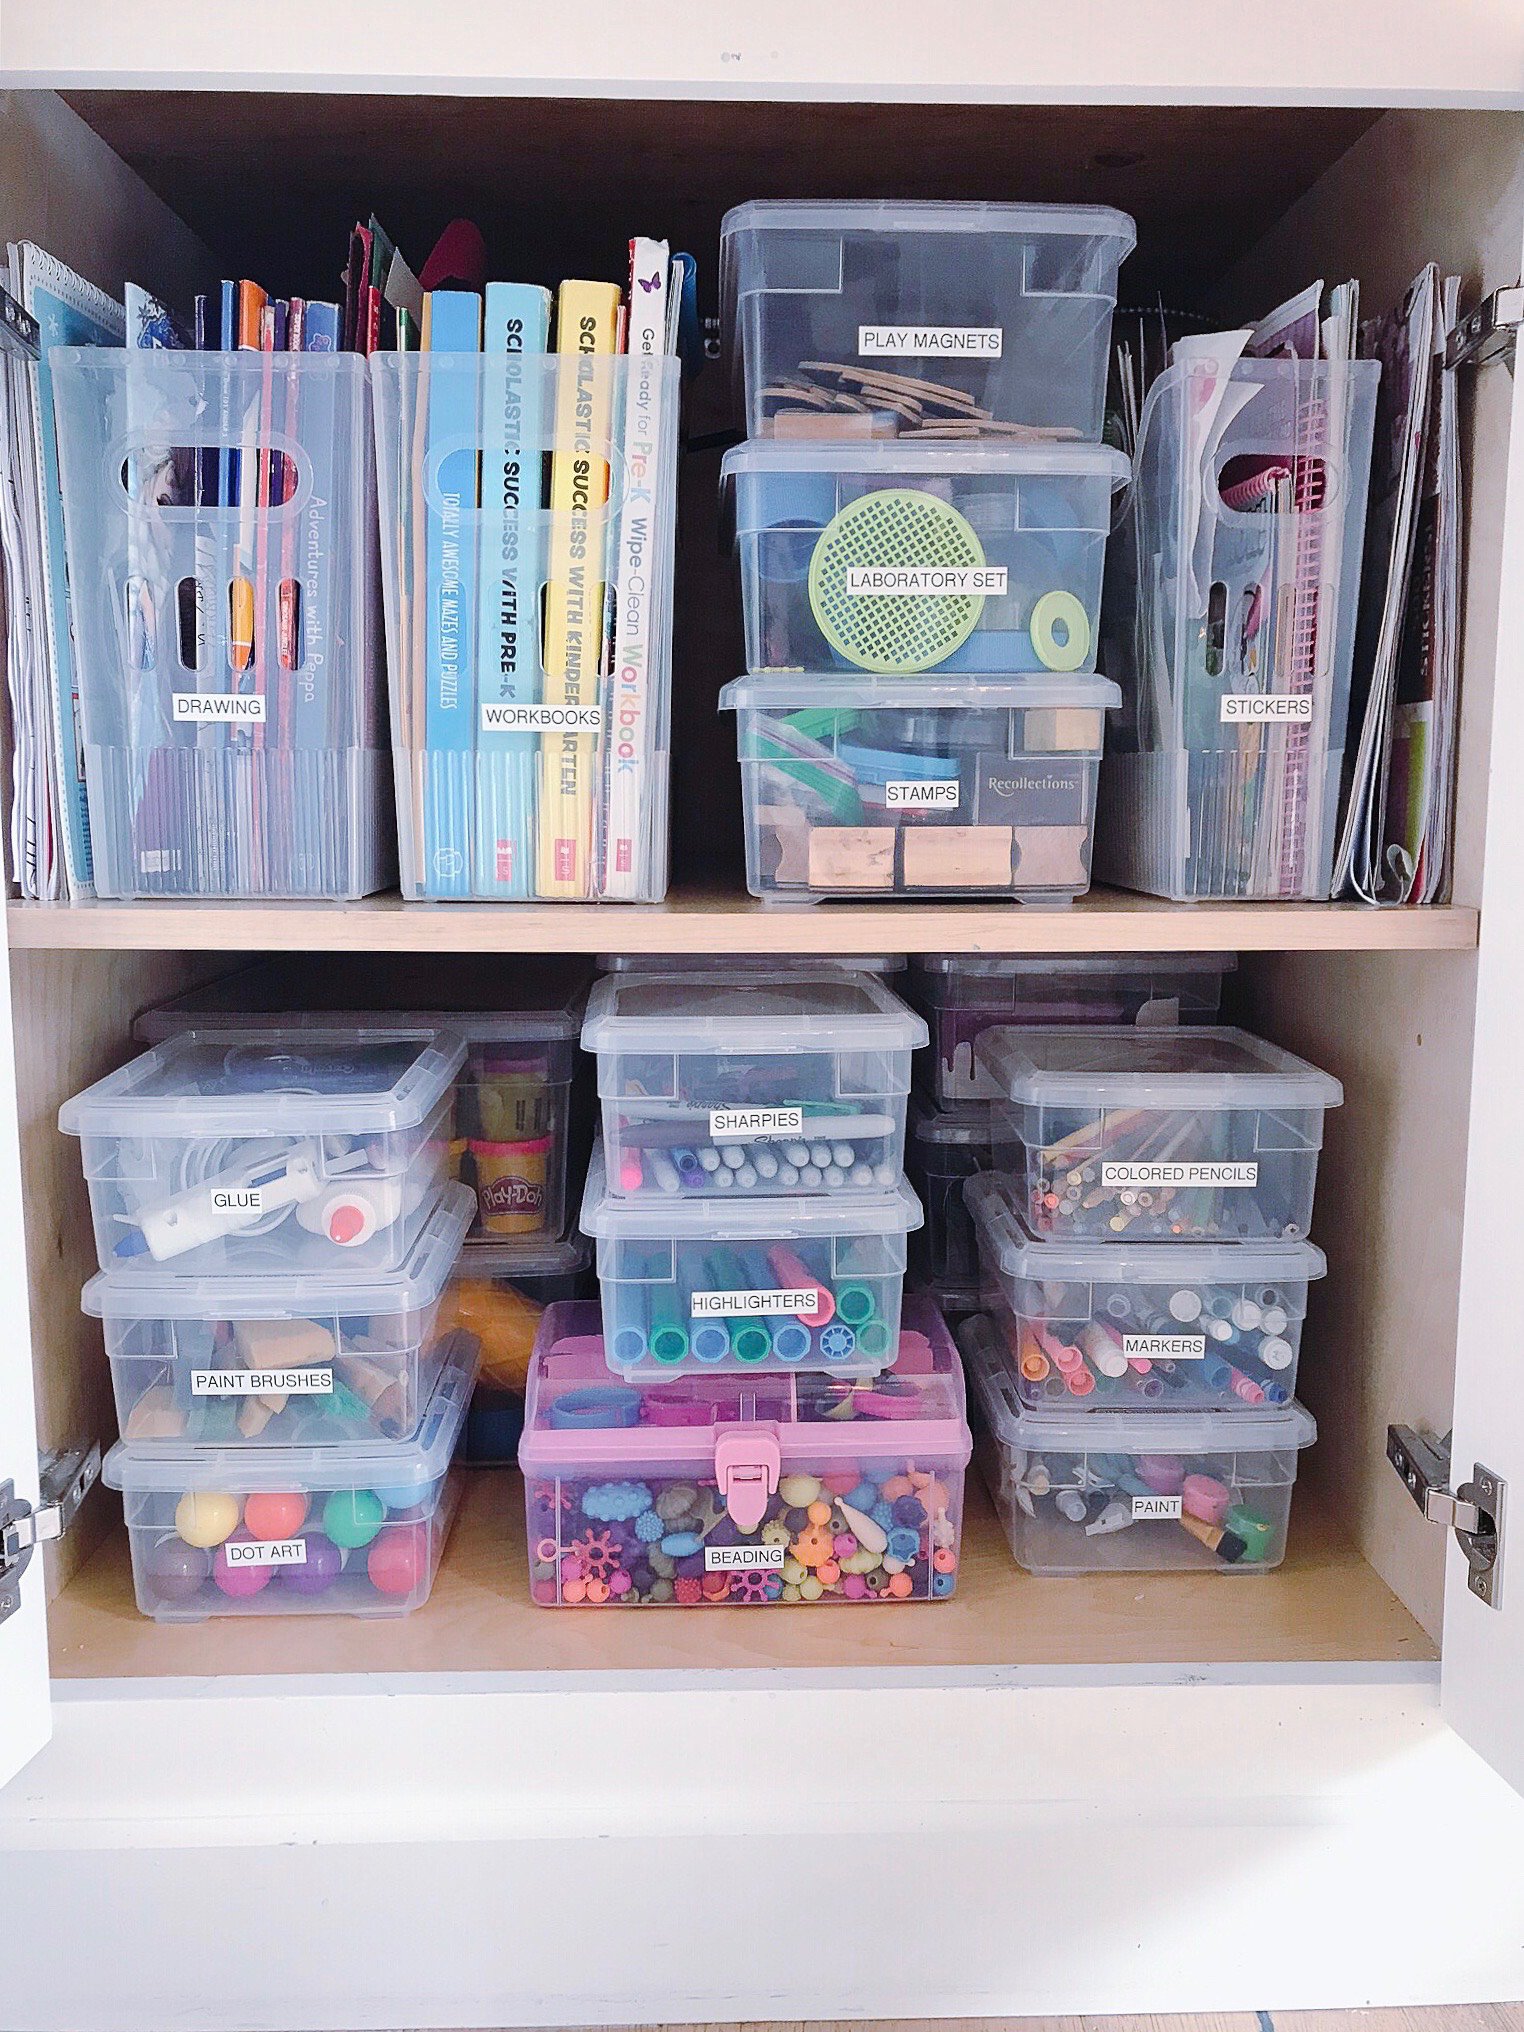
5) LABEL EVERYTHING
Now that your supplies have homes, it’s time to label! This step is essential to maintaining order. Train your kids to know that the labels are sacred and that they should only put something in a bin if it matches the label. If your kids can’t read yet or are more visual learners, consider using picture labels to make the cleanup process easier!